
|

|
|
|
Jims Web Site
|
Date: 8-18-2012
|
Number of Hours: 30.00
|
Manual Reference: 6ZU2
|
Brief Description: Installed NAS shear bolts
|
|
These bolts were a nightmare to install. I thought once I had a couple of bolts in place, everything else would line up easily. Instead, I had to create more tapered 5/16 bolts from common stock, by grinding them to a point on the grinder. These would be driven into a bolt hole with the rivet gun.
Once I had a section in alignment, I would remove one of the tapered bolts, which meant slowly turning the bolt head with a 1/2" wrench, alternating between socket and open end wrenches, depending on which seemed to work best at the time.
Once one of the tapered bolts was removed, I would replace it with the appropriate length NAS shear bolt, and install a nut on the end. For some reason, the plans do not place washers under either the bolt head or the nut. The bolts are too short for washers, so I decided to follow the plans in this area, despite personal misgivings about the lack of washers.
I torqued the nuts to 110 inch pounds, per the torque tables.
|
|
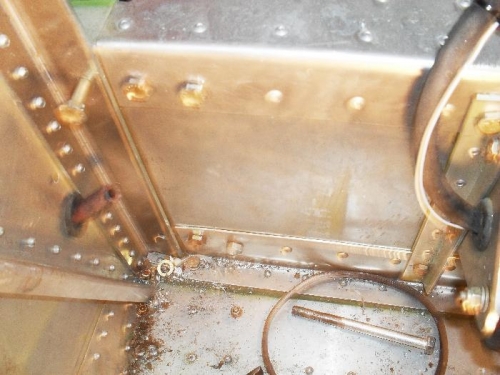
Alternating taper and shear bolts on the front side
|
|
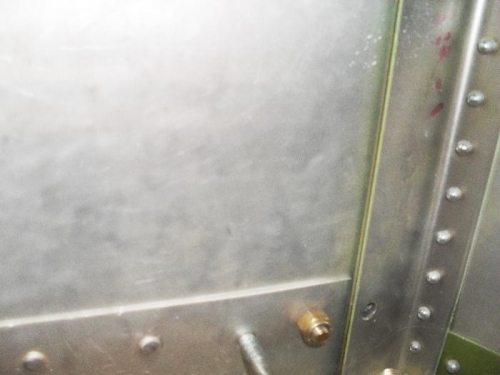
Alternating taper and shear bolts on the back side.
|
|
|
|
|
|
|
|
|
Copyright © 2001-2024 Matronics. All Rights Reserved.
|