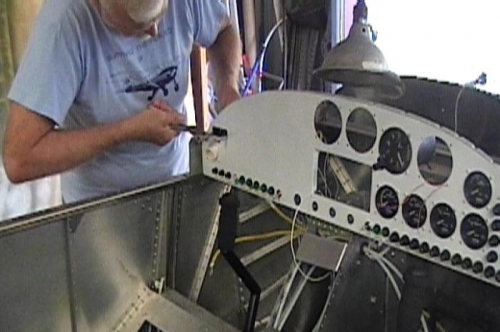
Brief Description: Installed ELT control in instrument panel
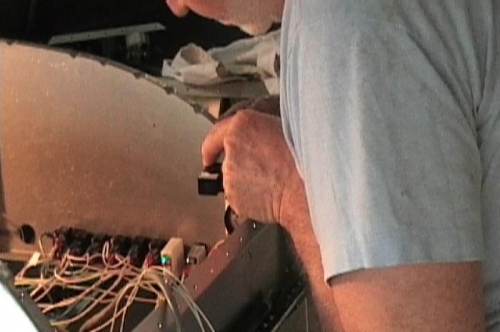
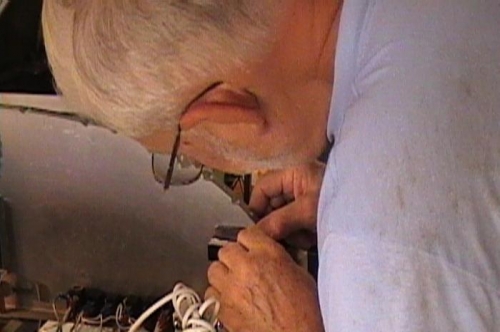
1) Mounted control in previously created hole with silver clecoes. 2) Painted #4 flat head screws with primer and black paint. Allowed to dry overnight. 3) Insertede screws in mounting holes, and installed #4 nets on back of panel, 4 places. 4) Installed second #4 jam nut. 5) Applied locktite. 6) Plugged in control cable.
Control cable must be tied up out of the way when the starter switch and scat from the fresh airvent is installed.