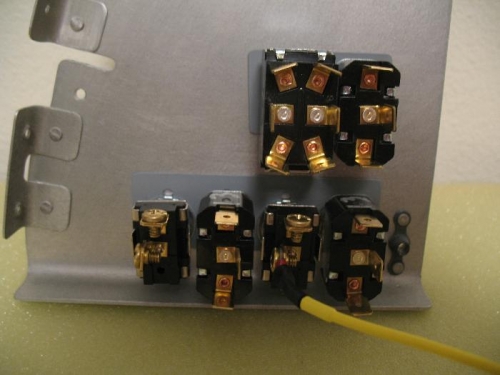
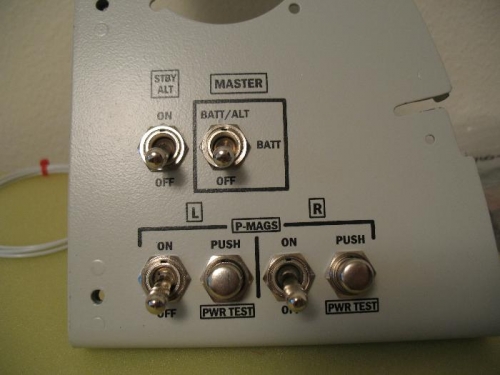
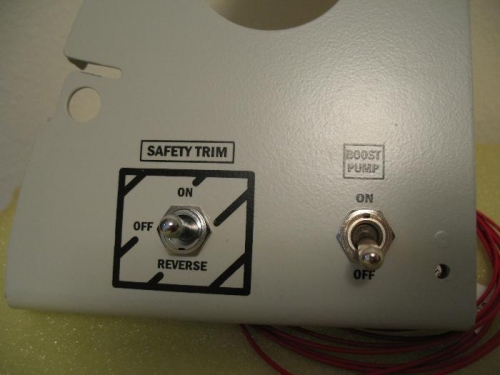
Well I jumped back to the instrument panel. The labels and paint are done so it is time to install the switches. I did not drill holes in the panel for the anti-rotation tabs because the hole would be seen on the front of the panel. An idea I picked up online was to make a backing plate that will have the anti-rotation holes for the little tab on the switch anti-rotation washer. I made up these and then primed them all. After drying for a few hours I installed my switches.
I had to install one wire to the inside push button switch. These switches do not have blade connectors, but #6 screws instead. I would not be able to get to the center post screw once all the switches were installed so I measured the length and installed the wire first. I am very pleased with the way they have turned out, and I really like the low reflection matte finish on the panel.