Today I manage to get my crew together to take the wings off. The wing fit is a two step process, you fit and set the angles then take them off to clean up the burrs on the drilled holes and install nut plates. I had one rivet on the main spar hitting the side of the fuselage so we pulled the wing out to shave that down then reinstalled the wing and did the final measurements. In checking the sweep again everything was perfect. I am not sure what I did wrong when I measured it the other day when I thought I had a slight forward sweep.
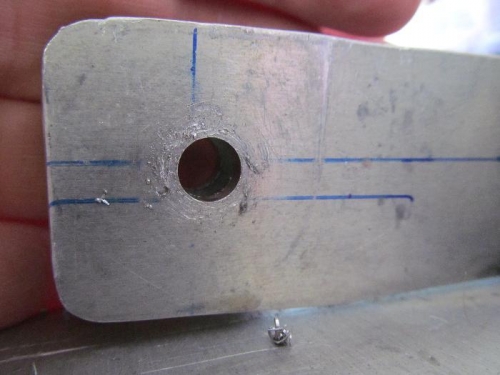
After double checking all the measurements on more time I drilled up the holes to a “N” size hole then used a .3115 ream for the final hole. This hole is just undersized from a true 5/16. I test fit the close tolerance bolt (NAS6605-D10) and they fit well. The left side is snug the right is going to need a light tap to get it to go in , I must have reamed right side a bit cleaner! My holes are all within the edge distance which is a relief; the right side is the only side that is close because that wing had to come up a fair bit at the rear spar to get the incidence set to the correct angle. It is funny how even with the matched hole technology the two sides can have as much difference as they do.
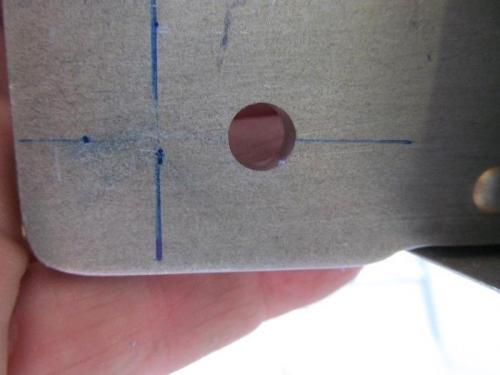
The is the tab from the fuselage, you have some room here for the edge distance.
This hole is just a tiny bit above the edge distance line