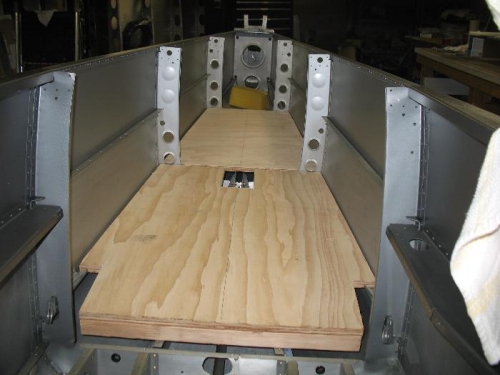
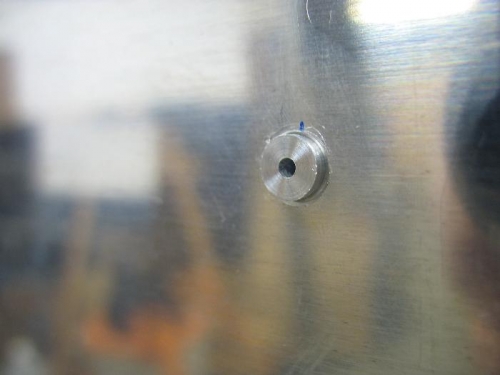
I had a long day in the shop; this is almost like a job. I am moving on to a new phase which is motivating. I stared by making the plywood back boards that lay in the fuselage to support the person that will be bucking when the riveting starts. Then I marked and drilled with a step drill the .250” holes for the SafeAir1 static ports. I was thinking about how to attach them so I looked at the SafeAir1 website and noticed some slight differences in the ports they sell now, I wanted to ask about the changes, so I gave them call but so far we a playing phone tag.
I moved onto the fuselage bulkhead tops. These need to go in before I can run any static lines since the line will attach to one of the bulkheads. It was a tedious job to deburr all around the flanges since they are punched with many taps to give the bulkhead its curve. Once that was done I clecoed the tops in place and match drilled them. I also did the same with the canopy receptacle. That is where I left things for the night.
I will have to take the fuselage back off the rotisserie since I need to be able to get in and out so I can cleco the top skin on, which is next in the instructions. I also need to decide how I am going to transition the wires for the elevator trim servo and tail light through the aft most bulk head.
Back boards in place. I think I will glue some thin capet on top to prevent splinters