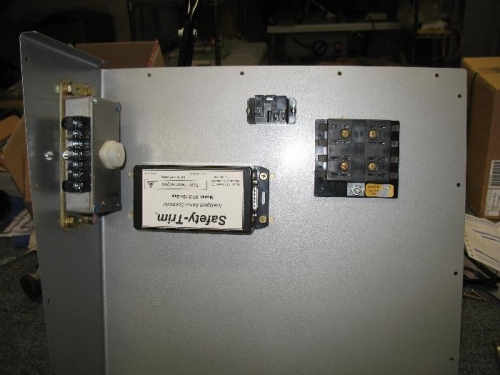
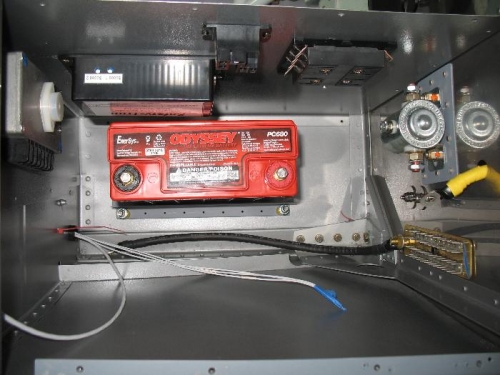
After installing the pedals I drilled the holes for the Safety Trim module and installed the nut plates. You can see in the picture why I waited to drill the holes for the trim module until after I installed the rudder pedal. The outside nut on the pedal had potential to interfere with the screw coming out of the nut plate. The fit allow the rudder bolt to move just under the level of the nut plate on the wall. I sat in the plane and my leg does not hit the bolt either but I think I will order the next smaller size since they stick out farther than required. Some parts came in so I replace the -8 nut plates used to hold the battery buss on the wall with -3 nut plates. The holes in the bus are made for a 3/16” screw and I thought it would be better to use the proper size screw. I am done for the month, and a few days. I have my annual simulator check so I have to hit the books so I am ready for the oral exam.
Trim module is lower than you would think to give room for D25 lug that goes ont he rigth