Brief Description: Prep flap hinge, install (R) aileron bell crank
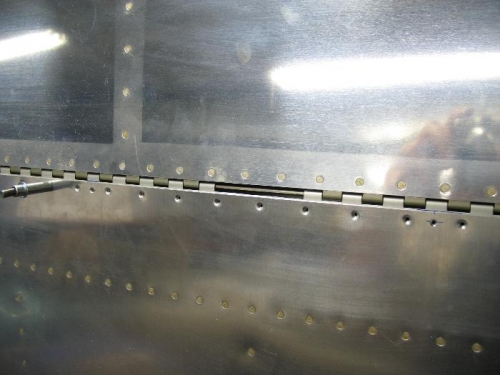
I did not get much done today, it is time to drill the flap hinge but I am still tweaking the alignment. The good part is I do not have any edge distance issues like some have had with the flap hinge. I have run a fishing line between the aileron trailing edge and the flap trailing edge and all seems flush and square. I fudged the flap a little closer to the ailerons than the ¼” shown in the plans. I talked with some builders and most try to minimize gap drag here and get it as close as you can. The aileron hinge bolt is what might interfere if flap and aileron are too close. Mine is going to be 1/32 closer than ¼”, I wanted to minimize the gap but also did not want the surfaces to interfere while under load. I cut out 5 of the hinge eyes in the middle for access to insert and remove the flap hinge pin. The plans call for drilling a hole in the aileron hinge bracket to safety wire the hinge pin, keeping the pin in one long 5’ length. Many builders use the method I am using because you only have half a hinge to insert so the tension will be less than running the pin through the entire length. Also it is fail safe in that if a hinge pin were to work its way out it will hit the hinge pin on the opposite side which limits the amount it can move to only 2 inches. Even though there is this build in interference I will still safety wire the pins once installed to the flap brace. One of the pictures is from the day after today; it shows how the hinge pins will attach flap brace.
The last thing I did was install the (R) aileron bell crank and hung the aileron.