
|

|
|
|
RVGator
|
Date: 4-26-2008
|
Number of Hours: 4.50
|
Manual Reference: Sec 5/11
|
Brief Description: Reamed brass bushings, drill left bottom skin
|
|
Not a lot done today, my Pitot tube and mount came in but I was not ready to tackle that today, more on that later. I started off reaming the brass bushings to ¼”. I planed to use my drill press, but the bushing is longer than the travel limits on my drill press. I can get part way through the bushing but then I have to reset the drill press table height to complete the ream. Well this worked OK but the hole ended up just slightly off center. I put the other bushing in the vise with the plastic protection and used the coreless drill with the ream chucked in it; it too ended up slightly off.
The bolt goes through the bushing and will hold the bushing in place so the bell crank can rotate around the bushing, so since it is just slightly off I think it will work fine. I did loose some sleep over this, and wondered if I should just get new ones and have a machine shop do the work. I initially did plan to take them the machine shop but they wanted $35 to do the work, the ream only cost $13. I have read where other builders have just used a drill and held the bushing in a pair of pliers.
After some consultation on VAF, one suggestion was to install the bushing and see how it fits, so that is what I did, and it works just fine, not binding and the bell cranks smooth as glass and there is not grease in there yet. So I am happy with them and will move on.
I then decided to cleco on the left bottom skin and match drill the holes. For starters the skin does not go on easily, even with the matched holes. However I managed to get a cleco in every other hole and drilled them all to size and started to deburr some of the rib holes after taking off the skin. Here is where I should have thought through my steps. After I install the pitot mount to the spar I will have to install the skin to mark where the pitot goes through so it can be cut out, I will now have to install the skin again, I could have saved a step if I had just waited until the pitot mount was on. Oh well!
|
|
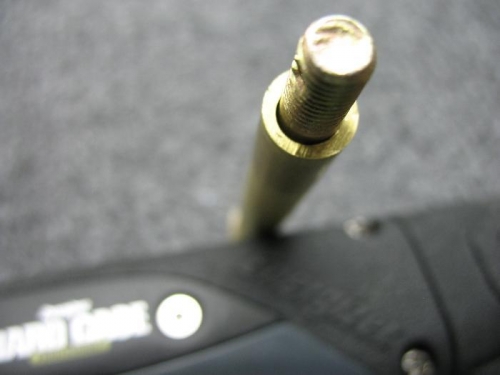
Gap looks bigger in photo
|
|
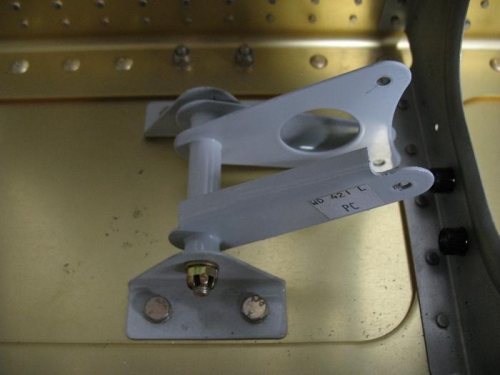
Bushing and bolt installed works great
|
|
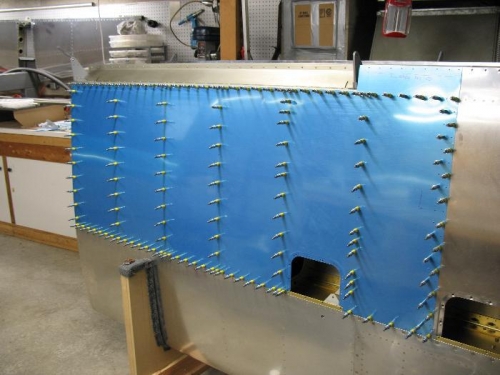
Skin prior to drilling, the Pitot will go outboard of the outer inspection hole.
|
|
|
|
|
|
|
|
|
Copyright © 2001-2024 Matronics. All Rights Reserved.
|