
|

|
|
|
RV-10 Project - N786PS
|
Date: 8-18-2007
|
Number of Hours: 4.30
|
Manual Reference: 6-3
|
Brief Description: 6-3 Assembly of VS Skeleton
|
|
Section 6-3 is about assembling the VS skeleton and skinning the VS. Today I got through the first part of assembling the skeleton.
I deburred the VS-1007, VS-1004, VS-1006, VS-1013, and VS-1005. The deburring process is getting much easier. I've started hitting the edges of stamped parts with a file, deburring the edges with a burnishing tool, then hitting them with the scotchbrite wheel.
The lightening holes are a breeze with a mini-scotchbrite wheel and a die grinder.
I've started getting the tight spots between the flanges with emory cloth. The process is getting much easier, faster, and predictable.
I also radiused the tips of VS-1005, VS-1013, and VS-1006. (NOTE: The plans do not call for this action) If you don't radius the tips, they will cause dents in the skin because they poke out too far.
There's information on the "RV-10 Bump" on Tim Olsen's website.
http://www.myrv10.com
I'm not sure if I removed enough material, but I should be fitting the skins tomorrow. I'll take it easy and see how it goes.
Tomorrow, I'll be drilling the skeleton holes out to size. I'm sure I'll get a shot at dimpling too. I'll have to build a couple of tables for the DRDT-2. I've been putting that off for awhile.
|
|
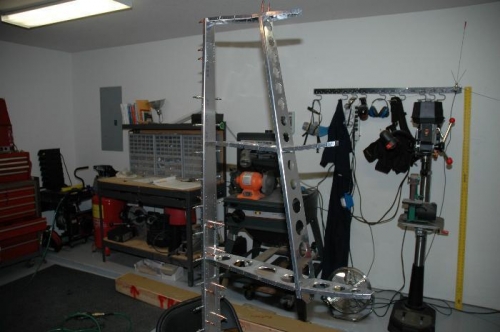
I think I've pre-flighted one of these!
|
|
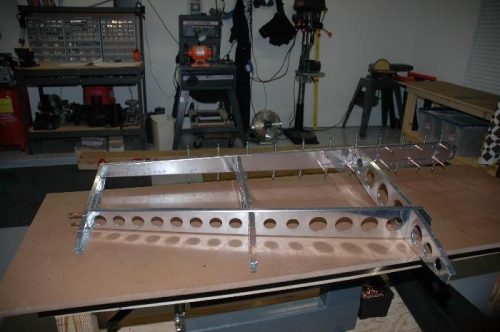
It's starting to resemble part of an airplane.
|
|
|
|
|
|
|
|
|
Copyright © 2001-2024 Matronics. All Rights Reserved.
|