
|

|
|
|
Peters Web Site
|
Date: 10-24-2020
|
Number of Hours: 2.00
|
Manual Reference:
|
Brief Description: Dashboard.
|
|
It has been a momentous day, I finally decided it was time for the dashboard to be permanently riveted into position, no more " umming and ahing ".
After applying the 3M VHB double sided tape to the lower edge for the dash, KSC gave me a hand to place the dashboard into position.
I think the factory tape the dashboard into position first, using the 3M VHB tape, then drill the rivet holes.
I didn't want the swarf from drilling being caught under the tape, so I did it differently, drilling rivet holes first ( cleaning the swarf ), then applying tape,
I positioned the dash using long cheap rivets from the hardware store, not pulled, just used to position the dash, then KSC lifted the dash slightly with the tips of her fingers ( a small section at a time ) and I was able to remove the protective cover off the VHB tape and the dash settled back into the exact position and all rivets fitted perfectly.
I removed the cheap hareware store rivets, then clecoed and riveted the dash with the factory 4mm rivets.
|
|
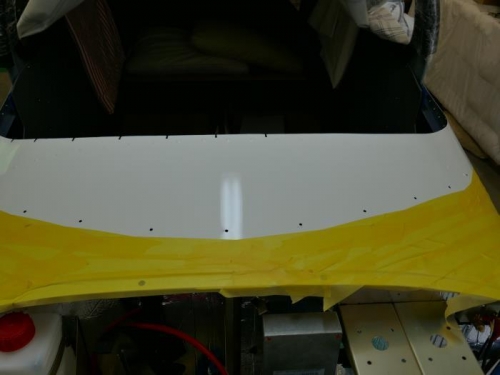
Cleaned and de-greased.
|
|
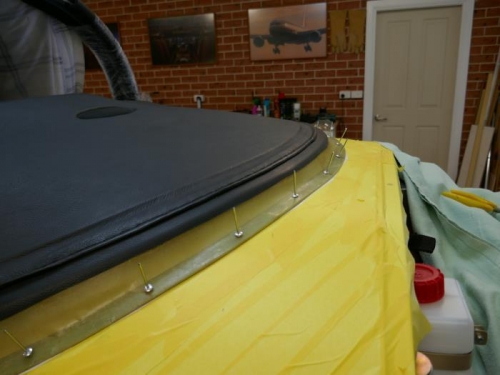
Hardware store rivets.
|
|
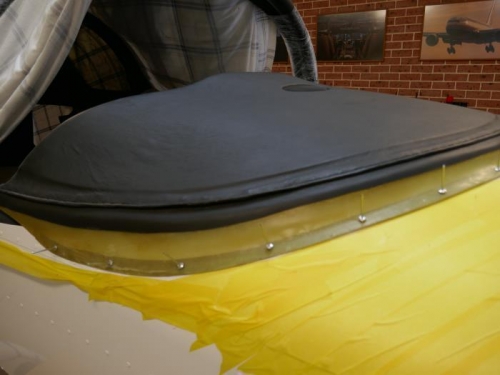
Staying in position.
|
|
|
|
|
|
|
|
|
Copyright © 2001-2024 Matronics. All Rights Reserved.
|