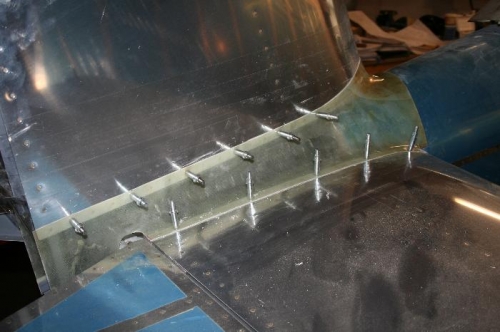
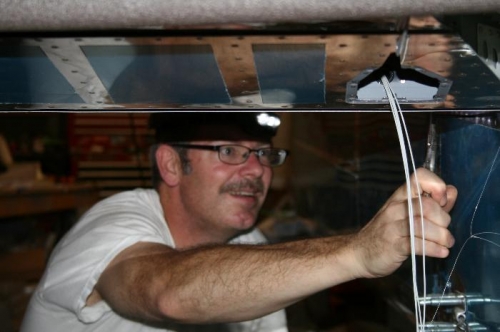
-Started on the empennage fairing today as I was in the mood to do glass work and I have to work on it when I'm in the mood ;P. -Test fit the raw piece and marked it out to for trimming. Ended up trimming right down the scribe lines that were already on the piece. -Test fit the lower metail trim piece and match drilled #40 to the longerons -Trimmed the fairing where it attempts goes over the leading edge of the horizontal stab - this is were the fitment wasn't too good. -Maked off the rivets in the vertical stab that needed to be drilled out to allow for the nutplates to be installed to attach the fairing - I remembered to leave those rivets out on the horizontal stab. -Drilled out the rivets mentioned above. -Cleco'd the fairing to the airplane -Marked and retrimmed were necessary -Test fitted with the canopy skirt - my previously installed stop worked just right. -Started tapping the holes for the lower metal trim piece for 6-32 screws per the plans. I broke my tap so I called it quits for now.
Here's the fairing after initial trimming and match-drilled
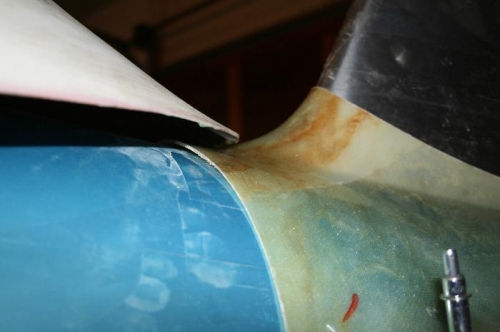
The canopy gets close to the fairing. This is with a stop installed or it will hit it.
Here I am taping the longerons for 6-32 screws - what a pain with the stabilizer installed