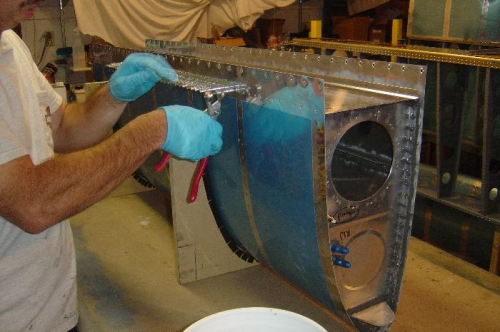
I ended up skipping Saturday, so today was the day the right tank got closed out by installing the rear baffle (back of the fuel tank). Mitchel was at a friends so I went solo. I ended up finishing a little faster than expected. I used 6.5 oz of sealant total (not in one batch). I laid a big bead down on the skin just below the rivet line where the baffle contacts the skin (per the plans). Good squeeze out, at least where I can see it through the inspection cover. I cleco'd the top skin first making sure the holes were perfectly aligned. I started at the center and worked outboard which is also how I riveted. I riveted the top completely and then the bottom. On the blind rivets, I did the ones that don't go through the Z brackets first (per the plans) and then I cleco'd the top, bottom and middle holes in each bracket and riveted the inner ones first and then removed the 3 cleco's and riveted the top and bottom and lastly the middle. No glitches. I am happy and hopefully it will be leak-free just like the left one. Tomorrow I will install the inspection cover and then get it ready for leak testing next week sometime.
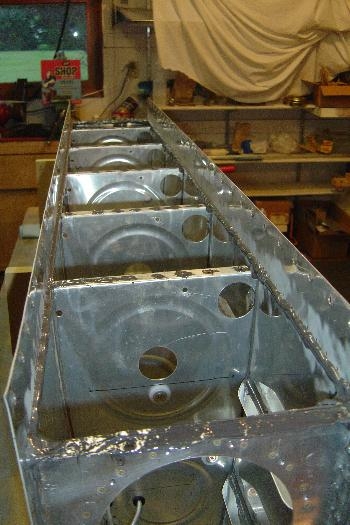
Here's the tank ready for the baffle. I don't put any sealant on the baffle except at the Z brackets