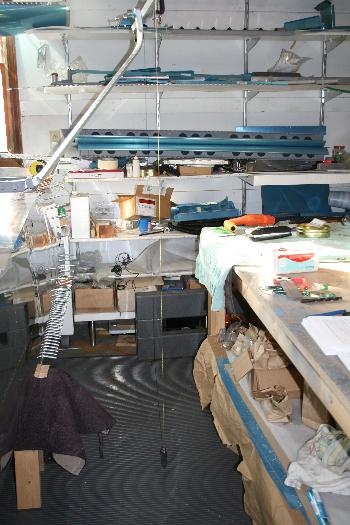
Now that I had room in the garage it was time to tackle the landing gear attachement. I won't stay on the airplane, but rather the holes that set the alignment will be permenantly made and the skins trimmed on the bellow of the airplane to accomodate them. -First step was to align the fuselage upside down and level at the F822 fwd skin both horizontally and side-to-side. -Then I drilled out the 7/16" holes for each side and the 1/4" holes on each side per the plans. -Next it was time to loosely bolt the gear in place using just the 7/16" bolt. Luckily Syd came out and help the gear leg while I put the nut on the bolt to hold it in place (both L/R) because that would have been tough by myself. -The I dropped a plump bobb off the rear F812 bulkhead to the floor and the firewall to the floor and ran a string tight between the two to form a referenc line to measure gear alignment. I then clamped angled alum on the outside of the gear legs at the wheel attach point and dropped plum bobbs off each end (see photo). I was one short on the plump bobbs so I'll have to run to Lowe's before pressing on. Once that is done I can take measurement between my reference center line and the 4 (2 on each leg) plumb bobbs.
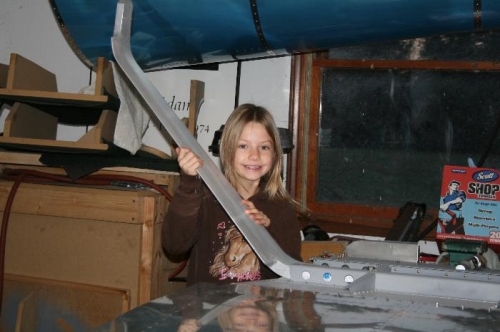
Syd is holding up the gear leg while I attach the nut underneath the upside down fuselage
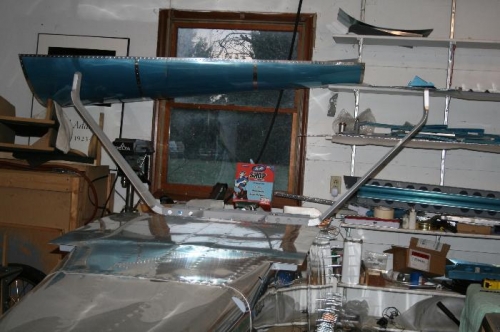
Gear legs on loosely and temporarily.
Note the plumb bob hanging down. I'll put another one on the other end of the angle.