Brief Description: Rudder riveting skeleton together
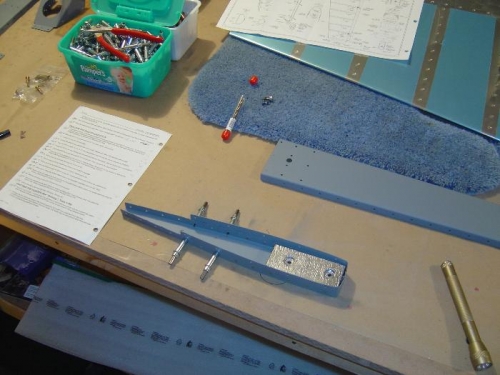
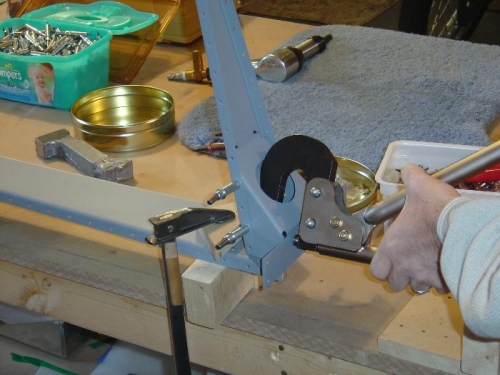
Up at 5:45am and started riveting the sub-structure(skeleton) together. Started with the upper rudder and the counter weight reinforcement and counter-weight. The instructions left a little out, but it worked out ok, e.g. the dipple size for the counter weight screws. They say that as the plane progresses the plans get less detailed. Riveted (squeezed) the rudder attach reinforcement plates and the plate-nuts that attach the rod ends to connect the rudder to the vertical stabilizer. I only had to shoot two rivets on the lower plate with the rivet gun. I also riveted on the lower rib, rudder horn and shim and angle bracket. Somehow I managed to squeeze them all, although the plans say you can substitute some of the hard ones for blind (pop) rivets. I used the standard 3" yoke, but I had a large assortment of sets of different lengths that saved the day. I had to actually squeeze then half way and then change the set to finish each rivet (see photo). I'm ready for skins next!
Upper rudder riveted together with the lead counter-weight in place
The lower rudder area - there is alot going on here.
Riveting the angle reinforcement R-710 to the rudder horn. These can be blind riveted.