
|

|
|
|
Mike & Aneta's RV Projects
|
Date: 2-16-2013
|
Number of Hours: 8.00
|
Manual Reference: R Aux Tank
|
Brief Description: Match-drilling R Aux Tank and Z-brackets
|
|
Today, I finished match-drilling the right auxillary tank and then moved on to the baffle z-brackets. the z-brackets secure the tank to the spar web. The problem is there currently aren't holes in the spar web for the bolts that attach the z-brackets. If the tank is up against the spar, you have no access to match-drill them, so I needed to figure out how to do this. I ended up clecoing the aux tank to the wing spar and then marking the z-brackets at either end of the baffle (since I could access them. Then I drilled the exact center of the circles I marked with a 1/16" drill. Using the pilot, I enlarged the holes slowly, using larger and larger bits, until I had perfectly match-drilled holes for the inside and outside-most z-brackets. Then I used double-sided tape on each of the other z-brackets. I mounted the whole assemble to the wing spar, pressing the tape to the web. Once they were stuck, I disassembled the baffle from the z-brackets, which left them stuck in place on the spar web. Then I could match-drill each of the holes into the web to the proper size.
By the way, this was another reason why initial layout was so important. Without proper layout, the z-bracket holes could have interfered with existing holes in the spar web and potentially the wing tie-down brackets. Because of my hard work, I had no problems at all.
|
|
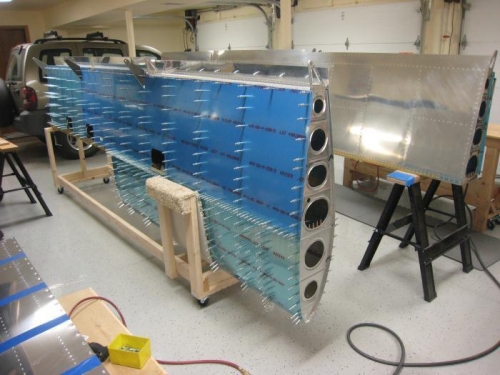
Right Aux Tank clecoed to the right wing spar to mark end bracket holes.
|
|
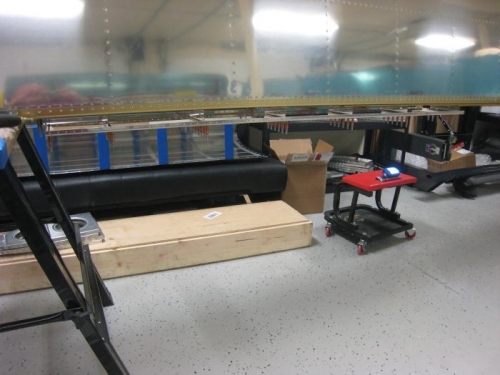
Right aux baffle and z-brackets clecoed in place and with double side tape.
|
|
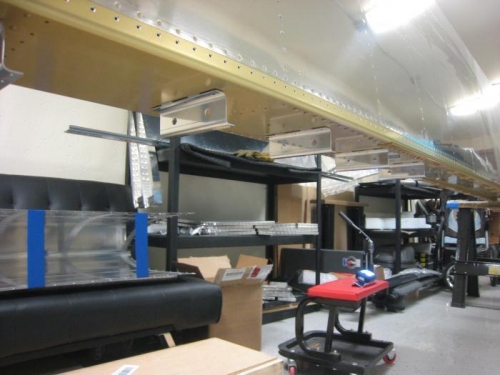
Baffle is removed, leaving the remaining brackets for match-drilling.
|
|
|
|
|
|
|
|
|
Copyright © 2001-2024 Matronics. All Rights Reserved.
|