
|

|
|
|
Mike & Aneta's RV Projects
|
Date: 2-17-2013
|
Number of Hours: 3.00
|
Manual Reference: R Aux Tank
|
Brief Description: Drill Fuel Cap Hole, Disassemble, Debur
|
|
Today, I had to figure out how to cut the fuel cap hole in the right aux skin, nicely. I bought a highspeed air saw thinking that this would work like a jig saw and enable me to easily drill out the rough outline of the cap hole. However, it didn't have enough power for the 0.032 skin. So, I looked around my shop and found that I had a hole saw that was just undersized a little from the hole I needed. The only problem was I needed to back up the cut with something. The hole saw was made for wood, not metal, and I was worried it might rip or deform the skn. So I made a small block of wood, drilled and clecoed it in place using the match-drilled cap flange holes. Then the hole saw worked like a charm! I finished the hole our, enlarging and deburing it at the same time using a small 1" scotchbrite wheel made for a die-grinder.
After that, I disassembled the right aux tank and began to debur the skin. Then I remembered that the skin holes related to the baffle will need to be countersunk, instead of dimpled (just like the main tank). Therefore, I realized that I will have to reassemble the whole thing in order to countersink those holes. Oh well, at least I realized this before I dimpled the skin.
|
|

Wood backup, clecoed in place.
|
|
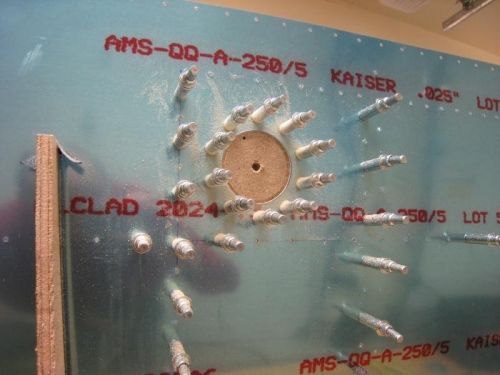
Rough hole drilled successfully!
|
|
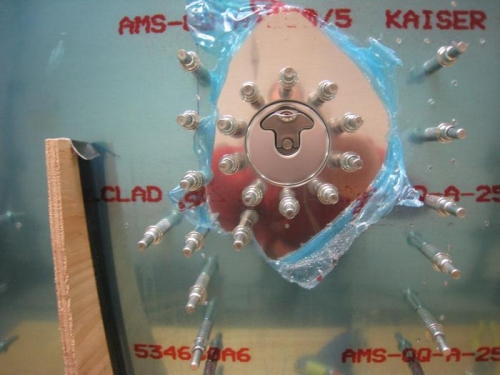
Finished hole, test-fitted with cap in place.
|
|
|
|
|
|
|
|
|
Copyright © 2001-2024 Matronics. All Rights Reserved.
|