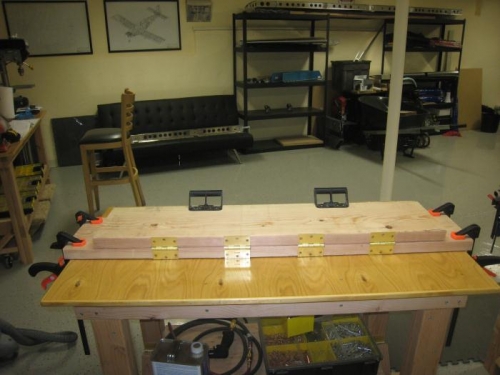
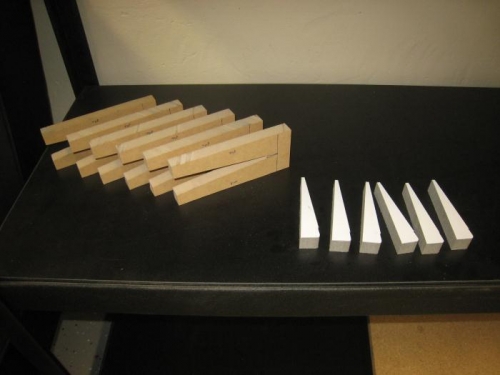
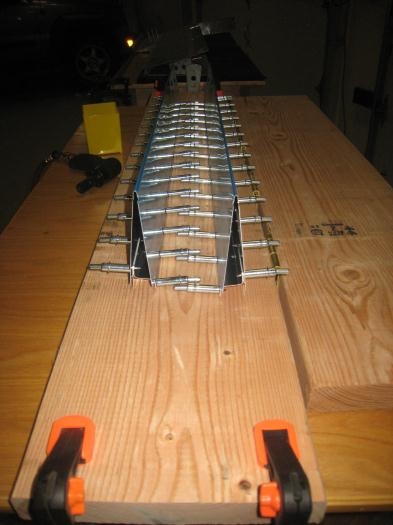
Since it will be a few days until the Pro-Seal is setup on the Left elevator, I figured I'd start on the elevator trim tabs. The first thing I did was to make a sheet metal brake to bend the trim tab skins into the right shape. While some people may have access to a "real" brake, like the kind they use in A&P shops, I looked into them and they are expensive ($150-$200). The version Vans suggests involves only a single 2"x12"x8'-0" piece of lumber from the Depot and four cheap door hinges (less than $20 total). I had some plastic handles left over from a door install I did in our house, so I attached them to add even more precision and control. Next, I fabricated the foam tab "ribs" and the wooden clamp blocks needed to jig everything together. The tabletop bandsaw worked perfectly for these and they came out nearly identical. In the end, the trim tabs are bent and clecoed, waiting for the next step. Now to clean up all the MDF and foam dust left behind.
My homemade sheet metal brake.
MDF clamp blocks and foam trim tab ribs.
The trailing edges of the trim tabs came out sharp and straight.