
|

|
|
|
Mike & Aneta's RV Projects
|
Date: 2-11-2012
|
Number of Hours: 8.00
|
Manual Reference: E Section 9(15)
|
Brief Description: Elevator TE Riveting & Counterweights
|
|
After a week of curing, clecoed to the angle iron, the left elevator trailing edge was ready to be riveted together. The flush rivets that go in the trailing edge are actually riveted on both sides of the rivet to give the appearance that each rivet has two factory heads, which are flush to the skin surface. To do this, I used the same method I used on the rudder trailing edge: First, I used the pneumatic squeezer to squeeze the rivet just enough to hold the actual factory head flush on one side. I inserted the rivets randomly across the entire edge doing this, until they were all in and partially squeezed. Second, I flipped the elevator over and back-riveted the shop head until it was nice and flush to the skin, essentially looking just like the other side. This technique works great, and the edge stays especially straight because of the prosealing step, using the angle iron.
After finishing with the trailing edge riveting, I moved on to preparing the lead weights that will be intalled in each elevator as counterweights. Because lead shavings can be very harmful to one's health, I didn't mess around and wore full PPE to cut and handle them. All in all, they came out well. Be sure to clean the teeth of your bandsaw by cutting through some wood after finishing with the lead. You don't want lead shavings in your aluminum. After that, I vacuumed everything in the shop for good measure.
|
|
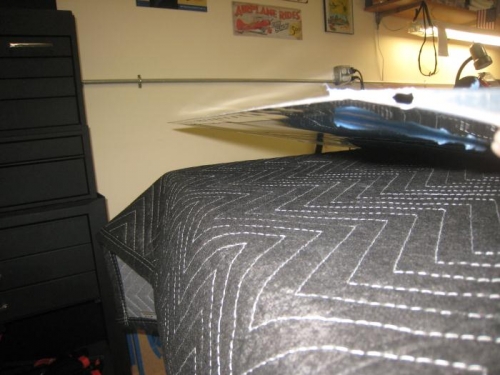
Super straight edge!
|
|
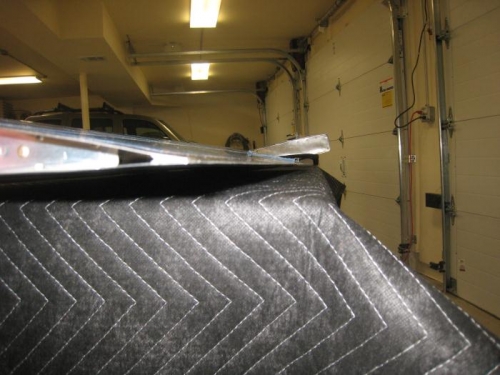
Looking from the other direction.
|
|
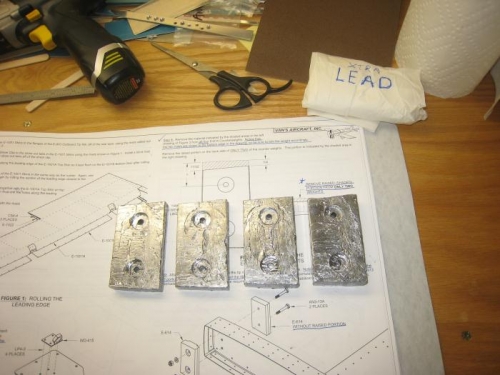
Counterweights, prepped and awaiting installation.
|
|
|
|
|
|
|
|
|
Copyright © 2001-2024 Matronics. All Rights Reserved.
|