
|

|
|
|
Mike & Aneta's RV Projects
|
Date: 2-4-2012
|
Number of Hours: 4.00
|
Manual Reference: E Section 9(14)
|
Brief Description: Pro-Sealing Elevator Trailing Edges
|
|
After riveting the hard-to-get-to rivets near the front spar of the second (right) elevator, I proceeded with Pro-Sealing the trailing edge. This is a messy job, as the Pro-Seal wants to stick to everything. Preparation is key. I wear at least 3 latex gloves on each hand, so that when a glove gets sticky, I just remove it (inside out) and drop it, having a clean glove underneath. The method for the elevator trailing edges is done exactly the same way as the rudder, in fact, I even used the same angle iron I used on the rudder, except the other side of it. If you plan ahead, the angle iron should be long enough to match drill the holes forthe RV-10 rudder and both elevator trailing edges. The angle iron helps keep everything together tightly and straight as an arrow, while the Pro-Seal sets up over the next few days.
|
|
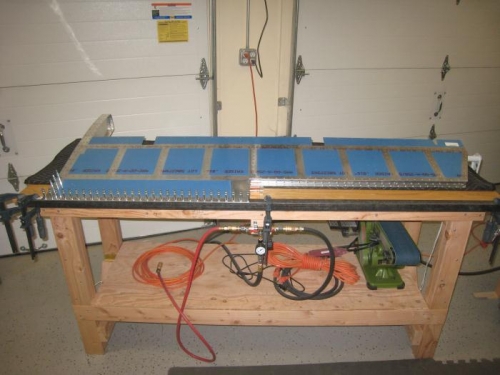
Left elevator Pro-Sealed and clecoed into place on the angle iron.
|
|
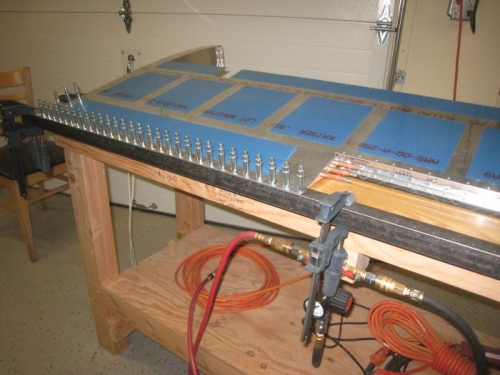
The angle keeps a super straight edge.
|
|
|
|
|
|
|
|
|
Copyright © 2001-2024 Matronics. All Rights Reserved.
|