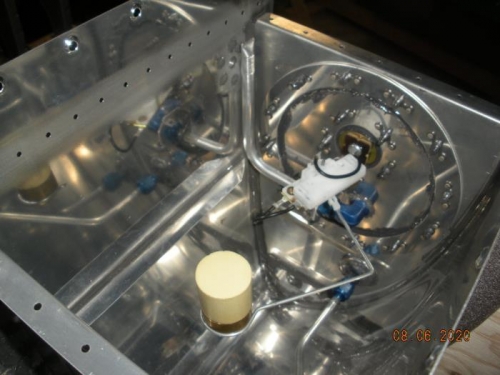
With all internal components installed and fitting torqued and sealed.... The inside was thoughly cleaned and checked before closing. For baffle installation, i purchased a 3.2 oz. tube of "Pre-measured Sealant" and a chalking gun to insure a nice even "bead" of sealant on the baffle plate. This worked very well, and insured a nice clean installation of the baffle plate. Rivets were all "wet installed" using a squeezer. Careful attention to mounting plate installation to ensure they were all in the proper position. After riveting, all shop heads were also sealed.
After several days of "Dry Time", i used the Vans "ballon method" to leak test the tank. Other than the usual "fuel cap leaking" (Even taped over, it still leaked slightly around the tape)..... Soap and water testing found... NO LEAKS!.