Brief Description: Installed Stabilator and cables
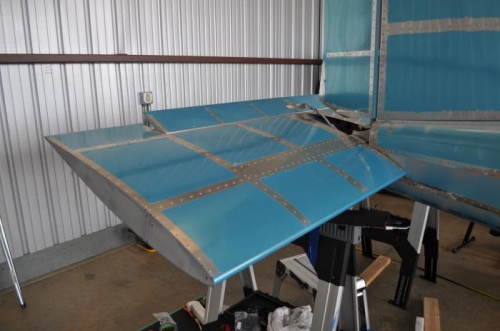
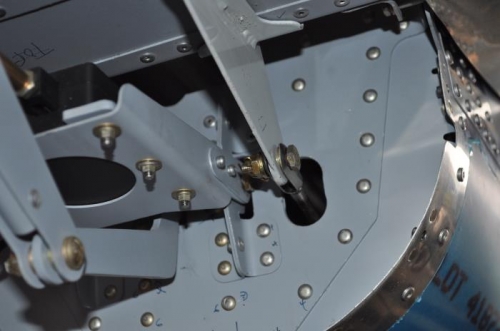
11-03: Bolted the Stabilator Counterbalance to the H-Stabilator and then attached the H-Stab to the Tailcone. Torqued the AN3 bolts securing the counterbalance to the H-Stab to 30 in-lbs. I did not glue the washers to the Stab hinge brackets as suggested in the plans and I did not have trouble attaching the left hinge bracket. It was a different story with the right hinge bracket. The gap between the right H-Stab hinge bracket and the flange bearing is narrower and I had problems placing a washer outboard of the bearing. I dropped and lost a few washers in the process. Eventually, I succeeded. Torqued the AN4 bolts to 70 in-Lbs. After the H-Stab waa attached bolted the Trim/Servo Pushrod Assembly to the Anti-Servo Tab.
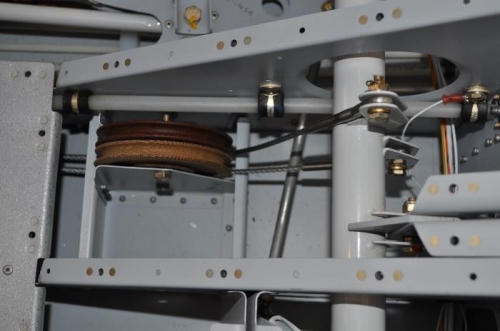
32-13: Fabricated a bushing for the Pulley Brackets. I don't know if there was a pre-made piece with the kit but I could not find one. Installed the bushing between the F-1250 Left and Right Brackets. Connected the F-1247A Forward Stabilator Cables to the WD-1210 Control Column and secured the nuts with cotter pins. Inserted a wire from the behind the F-1204A Bulkhead to "fish" the forward stabilator cables and pulled them aft. This, I think, is easier than what is prescribed in the plans which calls for placement of the pulleys first. Installed the 2 pulleys between the brackets. Pulled the 2 F-1247B Aft Stabilator Cables from the Fuselage to the Aft Tailcone Bulkhead and connected them to the Stabilator Horns. Secured the castellated nuts with cotter pins.