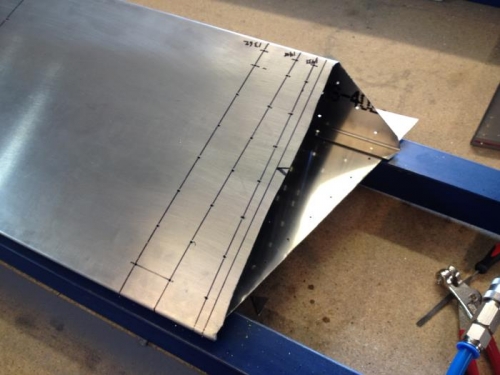
Assembled both ailerons. Checked over the skin layout for the right aileron and drilled pilot holes. Fitted spars and drilled them out. I also installed the B Mod gussets and balance wieght ribs and arm. Fitted the control horn and cut the out board end flush with the outboard rib. Disassembled it all.
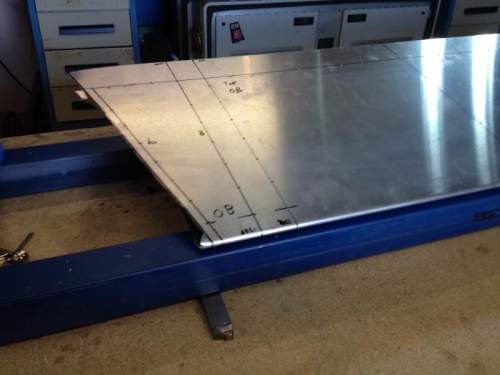
Did the same to the left aileron. That went faster but also generated a couple of errors. I will need a new balance arm and there are two spare pilot holes for ventilation near the balance arm. Note to self, pay extra attension when building the left version of what the plans have as the right version only.
De-burred all the parts, prepped and primed the inside mating surfaces. Ready to be rivet together. I can rivet the right one together but I am waiting on some parts for the left aileron which I will be installing the optional role trim flap. I won't close up the outboard end just yet either as I would like to trial fit the balance arm into the wing to make sure it doesn't hit the skins. The instructions for the B Mod start with the assumption that the plane has already been built and you pull bits apart to install the modification. Since I am building and modifying a the same time I will need to wait till I have the wing built to check clearance.
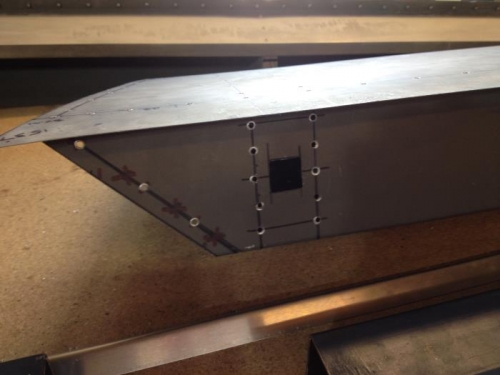
Flap outboard end being cut back
Balance arm exit point
Note 13mm spacer below the beam to give the aileron a twist as required by the plans