I finished up the other tab riveting the bottom side. Now it’s time to glue the foam ribs in place. I removed the tape and cleaned up the surface. After mixing up the pro-seal and with the help of my wife I managed to get all the ribs in place without too much mess. I slid each trim tab into the 3 wedge fixtures in the locations of the ribs. I then proceeded to cleco the top skin of the trim tab to the spar, but there are several holes that don’t hold the cleco very well or at all due to the counter sink. So, I had to quickly come up with a backer hole method so the cleco could get a good grip and squeeze the assembly together. For one I was able to use the scrap trim tab skin since the hole pattern already lined up. The other trim tab I had to fabricate a strip with some holes to use as a backer for part of it and I used the hole jig for the rest. I also secured the ends with the flush blind rivets CS4-4. Now just give it a few days to cure.
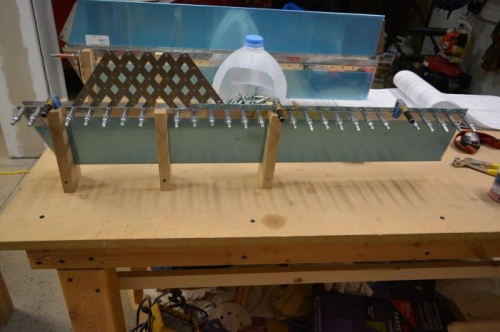
Trim tab ribs glued in place and added jig to help hold together (22-218)
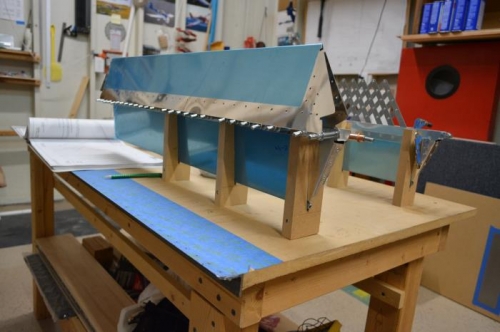
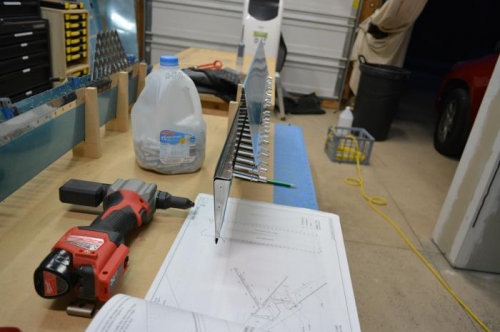
Other trim tab curing with scrap skin used for help holding clecos (22-220)