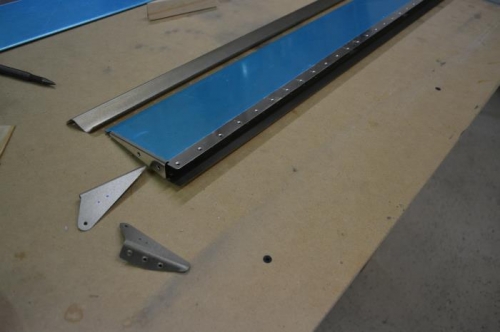
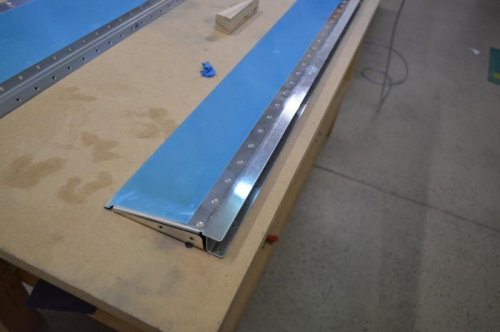
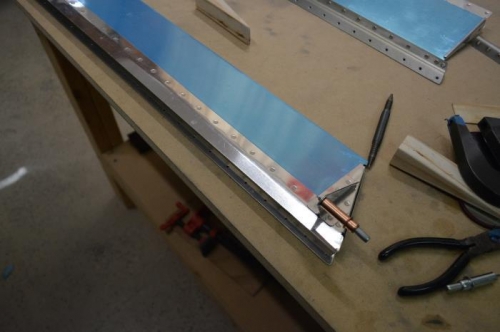
After I got the ends bent then I still needed to put in the 15 degrees on the bottom side. I tried a number of ideas, but none seemed to get me to 15 degrees. I don’t have a break, but I think it would have to be a fairly special break to not interfere with the rest of the trim tab to get the 15-degree bend in place. I ended up starting it with some boards clamped together, with one having an angled cut on it to minimize the interference with the trim tab as I tried to bend it. Then I just followed up with the seamer to get the rest of the bend angle. I just taped the knurled surface to make it smooth and overlapped my bends, then slowly worked my way down a little at a time. Then I got to dimple everything and countersink the top flange. I taped up all the surfaces that I didn’t want the wash primer on and sprayed it up. Now I’m at the step where I have to attach the flange to the bottom side. I was able to get the trim tab horns attached with my low clearance yoke on the squeezer, but to do the rest I used the longeron yoke until I got to the last two common to the horns and the flange…those I had to buck. One down one to go, then I get to mess with the pro seal.