Brief Description: Install Pitot/AOA Regulator and Lines
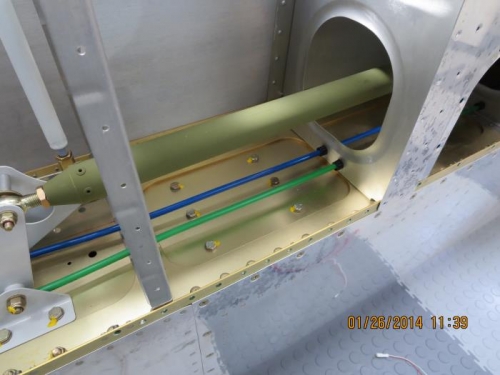
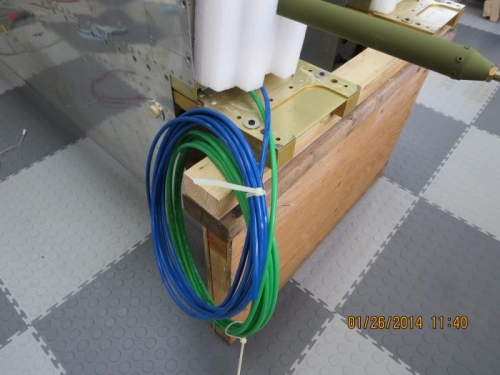
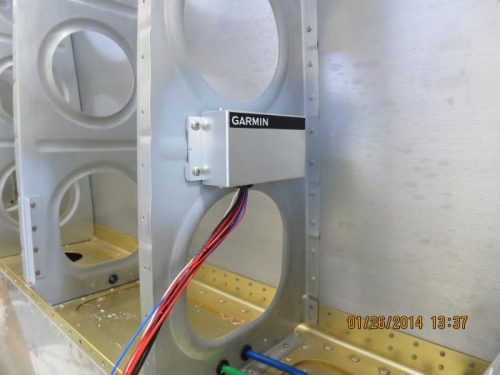
Today, I would run the pitot line and the AOA line from the wing root to the pitot probe location outside the aileron bellcrank. The quick build already had two holes and snap bushings at the rib roots out as far as the aileron bellcrank and then one hole with snap bushing out to the wing tip. I needed to enlarge one hole to 3/8" and install a snap bushing so I could run both lines out to the probe. I did this using my step drill on the rib just outboard of the aileron bellcrank. I deburred the hole and installed a snap bushing. I started at the wing root and fed one each of blue for AOA and one green for pitot airspeed out to the probe location. Later I will install the fittings and attach the lines to the probe once the probe is installed. I would also install the pitot probe heat regulator on the same rib using 4 #6 stainless steel screws with spacers and locknuts. I clamped the regulator in place and drilled 4 #30 holes. I deburred cleaned and primed the rib area. Next I fabricated 4 1/2" square spacers from .063 aluminum flat stock and drilled 4 holes to 1/8". I cleaned and primed the spacers. Once dry I installed the regulator. Earlier I had match drilled the lower wing skin to the ribs and now it was time to debur the holes in the ribs in preparation for dimpling.