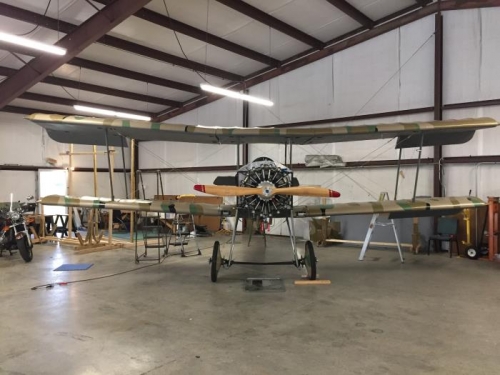
Brief Description: Finish Install of Lower Right Wing
Moved the wood stands out from under the wing and parked them behind the airplane. Checked the level of the fuselage to verify that it was setting level. Checked the angle of the right wing and found that it showed 2.8 degrees dihedral. Adjusted the drag cables on the right wing raising the wing to 3.2 degrees. Checked the left wing’s dihedral and found it at 2.9 degrees. Adjusted the left wing to 3.1 degrees and rechecked the right wing. Tighten the lift cables until they were just tight on both the left and right wings. Rechecked the angles on both wings and found them at 3.1 degrees. Connect the aft cross cable on the outer wing strut to the forward strut. This required the lifting of the front edge of the wing to get the turnbuckle started. This completed all of the cable connections and tensioning.
Installed the top right aileron and secured it to the wing with two AN3 bolts. Installed the lower right wing aileron with three AN3 bolts. Connected the lower control cable and insured that the cotter pin was installed and split. Installed the top aileron cable connecting the shackle to the horn and securing the pin with a cotter pin.
Applied a fabric patch to the aft drag cable opening in the right wing and the back side of the aft wing strut. Installed a small patch over the 3/4 inch slit in the fabric over the aft spar at the wing root. Allowed the patches to dry and then ironed in place with the small iron to set the glue.
Inspected the rigging of the wings to check alignment and found that the right wing tip was not level with the wing root. The cross cable on the wing struts was too short. The cable was removed so a longer cable can be installed during the next work day.