Brief Description: Installing Fabric on the Turtleback
Installed a 90 inch RG 58 coax cable from the back of the instrument panel along the left side of the cockpit into the storage compartment behind the seat and out the bottom to the location for the installation of the VHF antenna. Left the cable loose until the ends can be connected to the radio and antenna.
Glued overlay patches onto the lower elevator cable fairings on the fuselage. Disconnected the elevator cables from the elevator and removed the elevator. Pulled the top elevator control cables through the horizontal stabilizer and set the cables aside. Removed the horizontal stabilizer and set it aside.
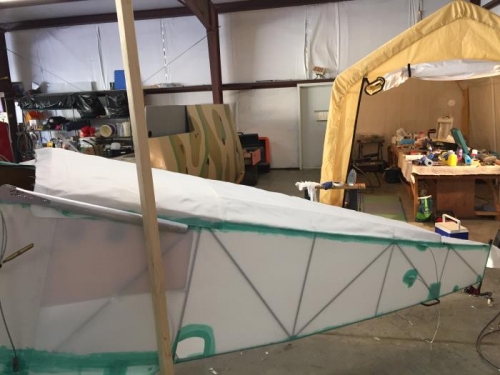
Laid out the fabric for the top of the fuselage and aligned the left edge with the left side of the fuselage. Used the pinking shears to trim the left edge of the fabric for a smooth edge. Laid a 1 1/2 inch band of glue along the top of the left side of the fuselage. Laid the left edge of the fabric over the glue band down to the cable fairing. Trimmed the top fabric to fit around the fairing and continued gluing down to the end of the turtle back. Trimmed the edge of the fabric to fit around the step-down and glued the fabric in place. Continued to trim the fabric to fit over the stabilizer mounting pads and along the fuselage edge. Completed the gluing of the fabric to the fuselage side until the rudder post. Applied some additional glue under the left edge of the forward turtle back and braced the material against the left side of the fuselage. Attachment of the right side of the top fabric will be completed during the next work day.