Brief Description: Completed Covering Left Wing Stub
Inserted the plywood wing tip form into the right wing stub leading edge next to the fuselage. Secured in place using two 1/8 inch pop rivets next to the plywood on the outside of the wing rib. On the left wing stub cut away the material covering the landing light opening. Inserted the plywood wing tip form next to the wing rib. Secured the plywood in place by installing two 1/8 inch rivets on the outside of the plywood top and bottom.
Pulled the fabric tight over the top of the left wing stub and tacked it down on the outer edge using the small iron set at 255 degrees. I used care in not pulling the fabric too tight as to prevent it from pulling away from the side of the fuselage. Used a probe to mark each of the rivet holes in the top wing rib before laying down the fiber tape over the holes. Used a soldering iron to melt each rivet hole in the tape and fabric. Installed a large head rivet in each of the holes in the wing rib. Ironed the fabric lightly with the small iron to remove the light wrinkles on the fabric around the rivets. Pulled the fabric tight across the top of the wing stub and reset the outer edge of the fabric on the wing rib. Trimmed the fabric along the outer edge leaving 5/8 inch overlap. Applied additional glue and smooth down the outer edge of the fabric. Covered the front of the wing stub by ironing down the fabric and adding glue where needed. Laid a 2 inch length of tape over the rivets gluing it down on both the bottom and top of the tape. Installed two doublers around each of the lift cable anchors.
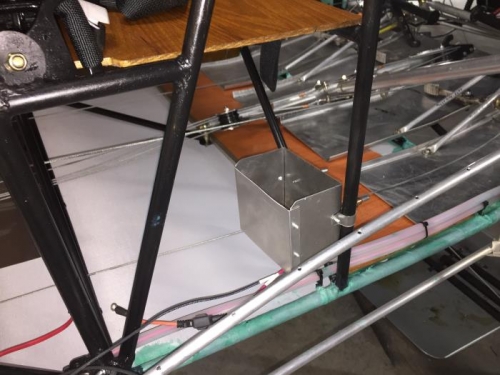
Positioned the battery box under the seat and marked the position of the diagonal brace of the fuselage on the box. Removed the box and installed a strap which will go around the diagonal brace and connect back to the battery box. One end of the strap was secured to the battery box with a 1/8 inch rivet and there other end with a cleo. Marked the outside edge of the box with where the strap will go to secure that end of the box to the frame, Again a strap is affix