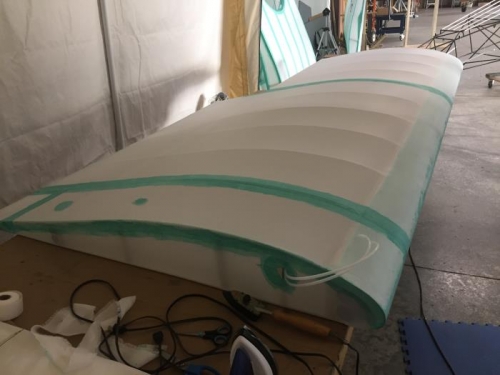
Brief Description: 250 Degree Ironing of the Upper Left Wing
Trimmed the excess material from the wing tip. Applied glue over the wing tip and wiped away the excess with a shop towel. Trimmed the excess material alone the aileron cutout. Glued the fabric down on the aileron front edge on the wing. Cut away the excess material on the trailing edge of the wing. Cut a segment from scrap to fill in the hole on the trailing edge near the end of the wing. Applied a length of fabric tape on the seam near the end of the wing, Applied two small patches on the minor holes in the fabric near the end of the wing. Using the small iron worked out the wrinkles in the seam areas on the wing. Pulled the fabric loose on the trailing edge near the end of the wing and then pulled it tight and fixed it in place. Cut a patch to fit over the pitot bracket and glued it in place. Trimmed the excess material from the end of the wing and ironed the edge in place. Turned the wing over so the bottom was up and using the large iron completed the fabric ironing of the bottom of the wing at 250 degrees. Rotated the wing so the top was up and completed it's ironing at 250 degrees. The second ironing will have to wait for the next work day.