Brief Description: Covering the Top of the Upper Left Wing
Made a trip to Airdrone Aeroplanes to pickup additional fabric to finish the wing and the fuselage. Talked with Robert about the number of rivets needed for the stitching. He realized that the number of rivets needed were higher than his spec sheet listed due to his assumption that every other bottom rib was not installed. Reviewing the plans showed that all ribs were to be installed and would require additional stitch rivets.
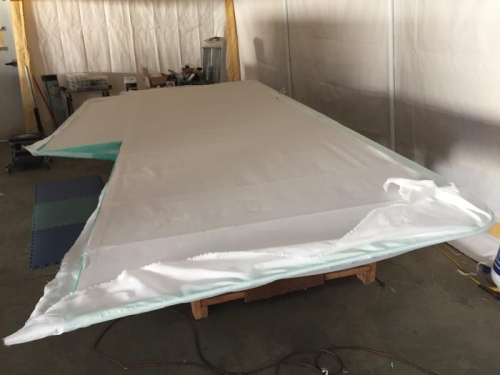
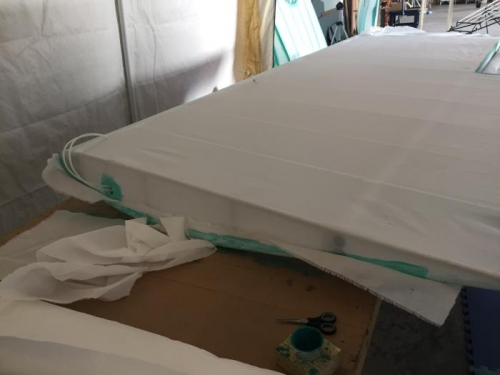
Removed the wing from the work table and set it beside the table. Laid out the material on the work table and glued the edges together keeping the leading edges aligned. Allowed the joints to dry. Applied fabric tape to the center joint and wiped the excess glue from the tape with a shop towel. Put the wing back up on the table with the top up. Aligned the front edge of the fabric along the leading edge of the wing. Applied a line of glue along the leading edge of the wing. Ironed the material carefully along the leading edge. Applied glue on the leading edge of the wing to cement the material completely along the leading edge. Turned the wing over so the bottom of the wing was up. Pulled the material tight along the wing tip and ironed it in place. Turned the wing over so the top was up. Pulled the material tight along the end rib and ironed it down Trimmed the material along the small aileron cutout and ironed it in place. The wing end bottom needs the material pulled tight and then ironed in place. Work for another day.