Brief Description: Covered the Top of the Upper Right Wing
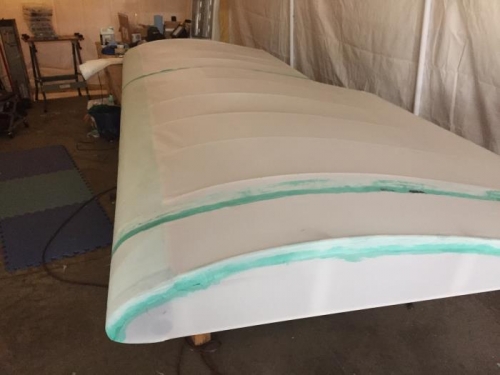
Removed the top material from the table and placed the wing top up on the table. Pulled the material over the wing and aligned it with the leading edge and left end. Applied glue along the leading edge and smoothed the fabric down over the glue. Used the small iron to smooth the fabric along the leading edge and set it in place. Applied glue on the outside of the trailing edge of the wing and pulled the fabric tight around the trailing edge. Again set the fabric in place on the trailing edge using the small iron.
Turned the wing over so the bottom side is up. Applied a 1 inch strip of glue along the trailing edge of the wing. Ironed the fabric around the trailing edge and onto the glue strip. Used pinking shares to trim the excess fabric from the trailing edge. Trimmed the fabric along the aileron cutout leaving a 1 1/2 inch over lap. Applied a line of glue along the aileron cutout end and ironed the top fabric onto the end fabric. Applied glue along the wing aileron butt and ironed the top fabric in place over the glue. Trimmed away the excess fabric along the aileron butt area and ironed the edge in place with the small iron.
Turned the wing back over so the top side is up. Applied a one inch line of glue along the top rib of the left end panel. Pulled the top fabric tight along the end and ironed it in place along the rib. Trimmed away the excess fabric along the top rib and ironed the edge down with the small iron. Securing the wing tip with have to wait for the next work day.