Brief Description: Prep of the Top of the Upper Right Wing
Completed ironing the edges of the bottom fabric to the wing frame. Trimmed the excess fabric from the left end of the wing and ironed the material around the top rib. Added glue in increments along the rib to increase the hold on the fabric. Trimmed excess fabric along the trailing edge and the aileron cutout. Ironed the fabric tight along the trailing edge and aileron cutout. Ironed the material again along the wing tip. Trimmed away any excess material on the wing tip and again ironed it tightly again the inside of the wing tip. Applied a coat of glue along the leading edge at the end of the bottom fabric.
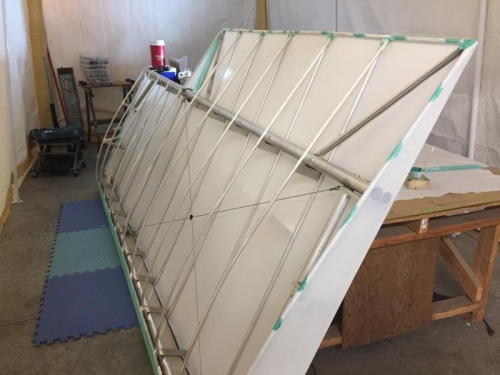
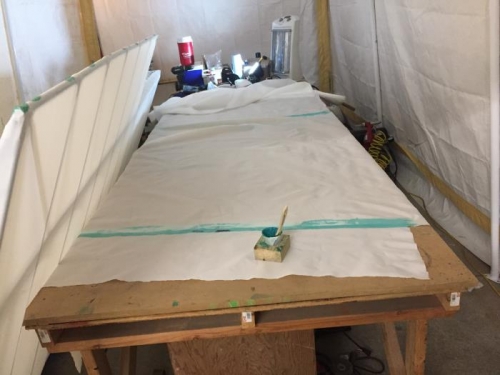
Marked the top ribs every 4 inches for the stitch holes. Drilled a 1/8 inch hole at each mark and then deburred all of the holes. Turned the wing over and cleared out all of the shaving from the drilling. Marked on the bottom fabric each of the access holes needed. Laid out the material needed to cover the top of the wing. Set the wing aside and joined each segment of fabric with a 2 inch overlap on the short edges. Applied glue to each seam taking care to keep the overlap correct. Left the material to dry. End of day.