Brief Description: Covered the Bottom of the Lower Left Wing
Cut a 11 inch width of material from the roll. Attached the top edge of the fabric to the right end of the wing along the rib. Ironed in place with the small iron. Turned the wing over and attached the fabric to the top of the wing rib and ironed it in place. Trimmed the excess material from the wing rib and ironed the fabric back in place. Applied additional glue to the inside of the wing rib and let it dry. Cut two 3 inch circles, one 5 by 6 inch oval, and one 4 by 5 inch oval from excess fabric. Glued the ovals over the ends of the wing spars. Marked the locations where the aileron cables are to penetrate the end fabric and glued a 3 inch circle over each.
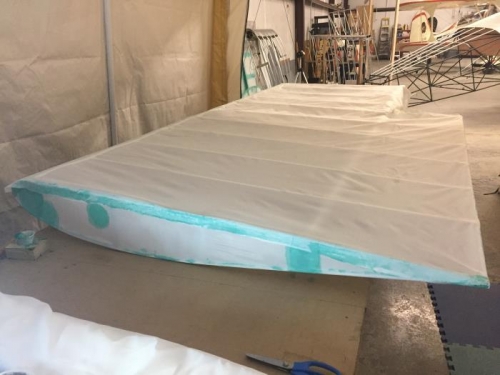
Unrolled fabric to cover the bottom of the wing and cut it so there would be a 3 inch overlap at each end. Applied one inch of glue along the bottom edge of the end panel. Pressed the end of the fabric onto the end panel and smoothed in place. Ironed the trailing edge in place along the wing to the aileron cutout. Pulled the fabric tight at the leading edge of the wing and glued it in place. Covered about 3 feet of the leading edge and run out of day. Attaching the rest of the bottom fabric is left for the next work day.