Brief Description: Finished Prep Work for Covering on Lower Left Wing
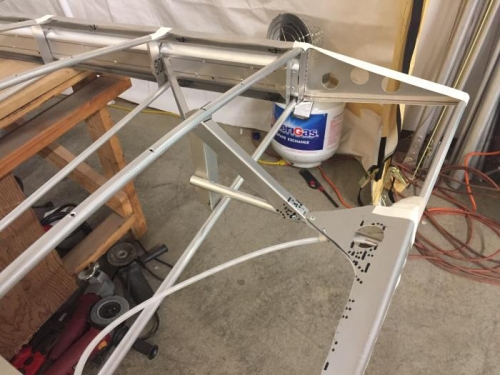
Measured and cut a section of angle aluminum to brace the wing tip at the light bracket. Mounted the brace with two 1/8 inch pop rivets between the last rib and the standoff tube. Turned the wing over so it was bottom side up. Marked each wing rib at 4 inch intervals. Drilled each mark with a 1/8 inch drill. Deburred each stitch hole on the bottom and top of the wing.
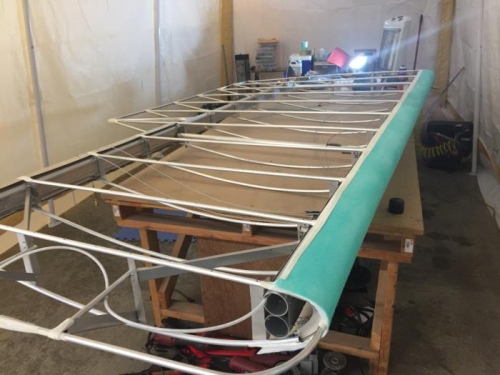
With the wing top side up sprayed contact cement along the leading edge of the wing. Applied a strip of light felt along the leading edge and rubbed it in place. Applied a layer of glue on the felt on the leading edge. Turned the wing over and applied a coat of contact cement along the bottom of the leading edge. Rubbed the flelt flat against the leading edge. Applied a layer the glue on the felt along the bottom of the leading edge. The felt came up just short of the trailing edge of the leading edge so a strip of cotton tape was applied over the trailing edge.
Next step is cleaning of the bottom of the wing and applied the covering in the next work day.