Brief Description: 250 Degree Ironing of Top Lower Right Wing
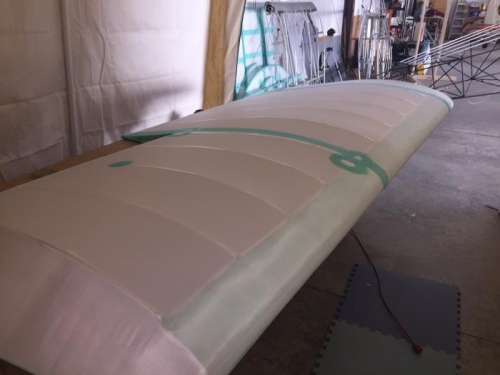
Glued the left end of the top cover down on the end covering of the wing. Pulled the cover as tight as possible and then ironed it in place with the small iron. Trimmed the excess material from the end leaving about an inch glued to the end. Applied a light coat of glue over the glued seam and wiped away any excess with a shop towel. Pulled the material tight at the aileron cutout and glued it down to the end material. Trimmed the excess material leaving about an inch for the glued seam. Applied a light coat of glue over the seam and wiped the excess with a shop towel. Turned the wing over on it top. Worked the wing tip material around the tip and ironed it in place taking care to eliminate any wrinkles. Trimmed the excess material from the wing tip leaving a one inch seam. Applied a light coat of glue on the seam and wiped the excess away with a shop towel. Cut out two reinforcing patches for the outer wing strut penetrations and for the drag cable penetrations. Marked each location in pencil, applied glue and laid the patch over the location. Applied glue to the patch and then wiped the excess glue from the patch with a shop towel. Cut a 3 inch circle patch for the aileron penetration and glued it in place. Applied fiber tape to each of the wing ribs over the stitch holes for the nine ribs to be rivet stitched. End of day.