Brief Description: Horizontal Stabilizer Control Cable Penetrations
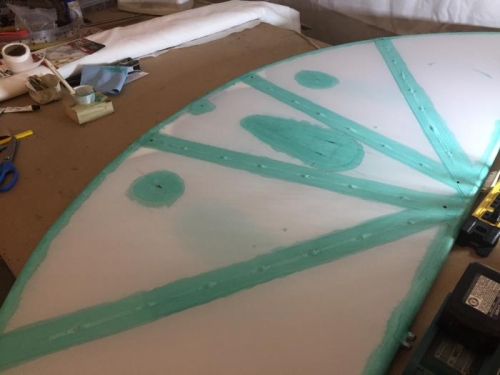
Applied glue within the marked area of the patch on the top right side center of the horizontal stabilizer. Laid the patch on the glued area and applied glue over the top. Wiped the excess glue away with a shop towel. Cut a patch for the top left side center of the horizontal stabilizer and marked the area with a pencil. Glued the patch in place over the opening for the control cable. Disconnected the control cables from the rudder and pulled the cables back through the horizontal stabilizer. Removed the rudder from the rudder ;post. Removed the vertical stabilizer. Disconnected the elevator control cables and removed them from the horizontal stabilizer. Removed the elevator. Unbolted the horizontal stabilizer from the fuselage. Brought the horizontal stabilizer to the table and placed it with the bottom up.
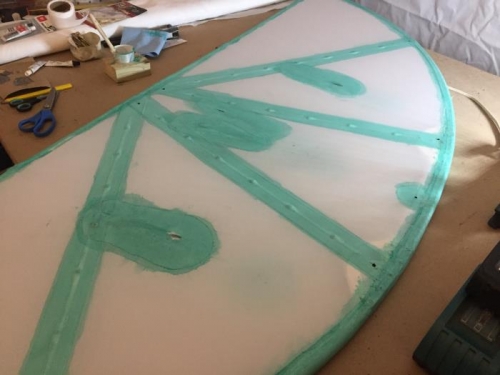
Cut two 3 inch round patches and one large triangular patch for the center area on the bottom. Cut slits in the center of the round patches. Laid out the larger patch and marked where the slits should go. Cut the two slits in the larger patch and traced its outline on the bottom of the stabilizer. Applied glue to the three patch areas and then glued the patches in place. Set aside to dry.
Turned the stabilizer over the top and ironed each patch at 350 degrees. Turned the bottom up and checked if it was dry enough to iron. Checked good so it was also ironed at 350 degrees.