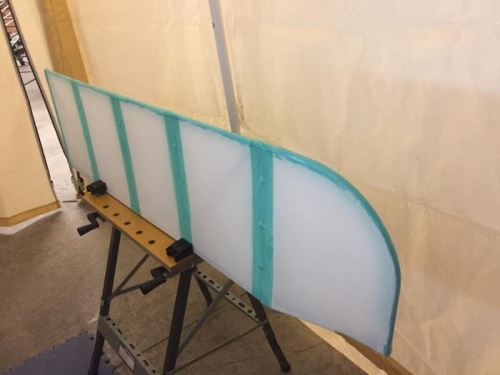
Removed the aileron from the sawhorse and laid it on the table with the bottom side down. Trimmed the excess fabric from the left end and ironed any loose edges down. Tensioned the bottom fabric at 250 degrees with the large iron. Applied a 1/2 inch wide line of glue along the trailing edge on the bottom of the aileron and across the front. Measured and cut the top fabric from the roll. Laid the fabric along the trailing edge and secured it in place with the small iron. Set the aileron back into the saw horse with the trailing edge down. Pulled the fabric up over the front of the aileron and secured it in place with the small iron. Trimmed the right side of the fabric with the pinking shares 3/4 inches beyond the end of the aileron. Secured the right edge of the fabric to the end plate by ironing it in place with the small iron. Placed the aileron back on the table and secured the left end to the frame with the small iron taking care to shrink the fabric smoothly around the curve. Trimmed the excess fabric from the left end and ironed the edges flat. Ironed the top fabric at 250 degrees with the larger iron.
Applied fiber tape to each rib covering the stitch holes. Used the soldering iron to melt each stitch hole in the tape and fabric. Installed a pop rivet in each of the stitch holes on the top fabric. Starting on the right end glued a tape over each rib on the top of the aileron. Turned the aileron over to the bottom and repeated the steps listed above to complete the bottom side. Set the aileron aside to dry before applying the finals tapes.
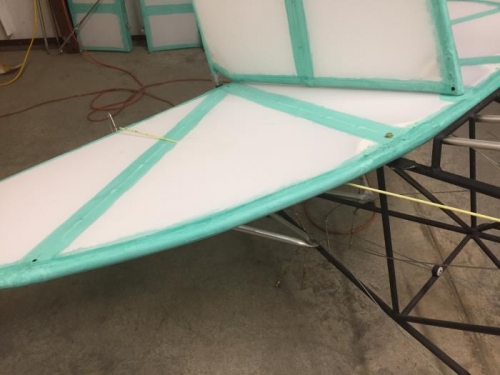
Using a fiberglass rod lined it up with the cable path and marked the under side of the horizontal stabilizer. Cut a 3/4 inch slit in the fabric at the mark. Slid the fiberglass rod into the slit and move it along until it hit the top fabric. Checked the alignment and then cut a 1 inch slit in the top fabric. Slid the fiberglass rod through the top slit and aligned it with the elevator horn. End of day.