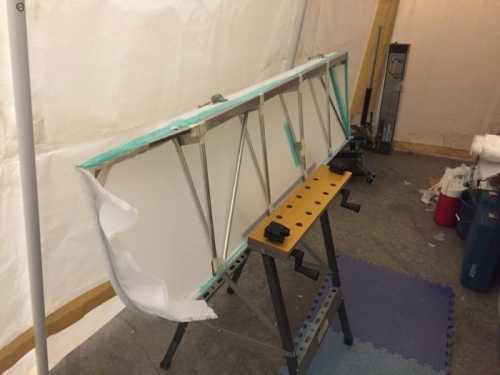
Brief Description: Finished Covering the Lower Left Aileron
Installed the pop rivets in each of the stitch holes on the bottom of the lower left aileron. Applied glue and tape to each of the four ribs covering the stitch pop rivets. Turned the aileron over and ironed the top fabric at 300 degrees. Repeated the ironing on the bottom side of the aileron. Mounted the aileron in the sawhorse with the trailing edge up. Applied a light coat of glue to the trailing edge of the aileron. Measured off enough of the tape to cover the trailing edge of the aileron. Marked the center line of the tape. Using the small iron tacked the tape in place on the trailing edge of the aileron. Continued to iron the tape along the trailing edge until the tape was laid smoothly along the trailing edge. Applied a coating of glue over the trailing edge tape and wiped away the excess with a shop towel. Turned the aileron over on the sawhorse and applied tapes to the edges of the front of the aileron.
Removed the upper left aileron from the left wing. Cleaned the aluminum with an acetone wipe. Used cotton backed tape to cover the guesses, rivets, and edges of the aileron. Marked each rib on both sides every 4 inches for the stitch holes. Drilled a 1/8 inch hole at each mark. Wiped away the marking for the stitch holes with acetone. Applied a light coat of glue on the inside of the trailing edge. Also applied a line of glue across the front of the aileron. Glued a scrap piece of fabric across the right end of the aileron. Measured a segment of fabric sized to cover the bottom of the aileron and cut it from the roll. Laid out the fabric on the table and placed the aileron on top of the fabric. Attached the fabric to the trailing edge of the aileron. Pulled the fabric tight and marked where the aileron connecting rod bracket will penetrate the fabric. Cut a slit for the bracket can go through the bottom of the aileron. Pulled the fabric tight and tack it to the front of the aileron. Cut the fabric from around the two hinges and pulled it tight over the front of the aileron. Tr