Brief Description: Covering of the Lower Left Aileron
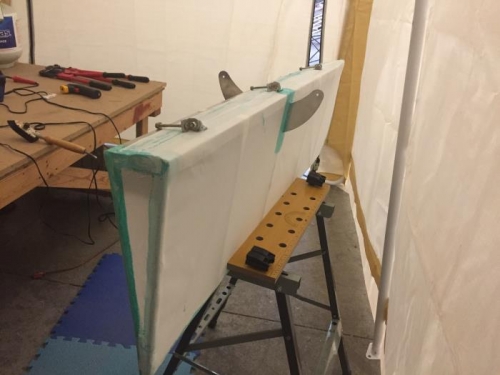
Trimmed the excess fabric from the right end of the aileron and ironed it in place. Applied the small iron to the material at 250 degrees to tension the fabric. Marked each of the ribs at 4 inch intervals for the stitch holes. Drilled a 1/8 inch hole at each mark on both sides of the aileron. Placed the bottom fabric on the table and laid the aileron frame on top. Secured the trailing edge of the fabric to the frame and ironed it in place. Marked the location of the bottom horn on the fabric and cut a slit for the horn. Placed the aileron in the sawhorse with the trailing edge down. Pulled the fabric over the front and tacked it in place with the iron. Cut the material around the hinges so it would lay flat. Pulled the fabric tight over the front and ironed it in place. Cut the excess material along the front. Measured a length of tape and marked the position of the horn on the center line of the tape. Cut a slit in the tape which would fit over the horn. Marked the tape layout on the bottom fabric. Applied glue within the marks. Laid the tape over the horn and applied glue to the tape to set it in place. Applied a line of glue along the bottom edge of the end cap about a 1/2 inch wide.
Unrolled a length of fabric and measured for the top of the aileron. Used the pinking sheers cut the top fabric from the roll. Set it aside for later use.
Pulled the right end of the bottom fabric tight and ironed it in place along the bottom side of the end cap. Trimmed the excess fabric from the right end. Trimmed the corners and ironed them in place. End of day.