Brief Description: Finished Horizontal Stabilizer and Worked Lower Ri
Applied a 2 inch tape to the rounded edge of the horizontal stabilized. Set it aside to dry.
Drilled 1/8 inch holes for the stitching rivets on the aileron at each marked location. Applied glue around the outer edge of the aileron and set it aside to dry.
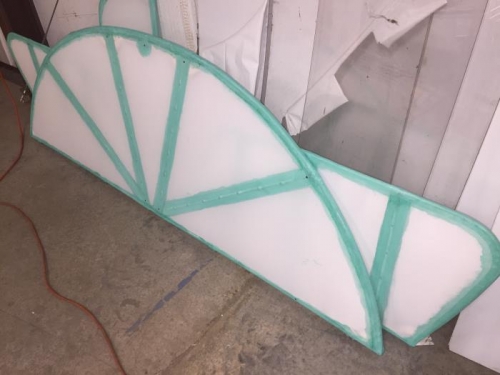
Glued a 2 inch round patch over both sides of the mounting location in the front of the horizontal stabilized for the vertical stabilizer. Used a probe to locate the seven mounting holes in the horizontal stabilizer. Applied a soldering iron to melt each of the mounting holes clear of fabric. Set the horizontal stabilizer aside until it is time for the control cable penetrations.
Laid out the fabric for the bottom of the aileron and tacked the trailing edge to the frame. Pulled the fabric tight over the aileron and tacked the top edge. Cut a slot for the control horn and attached the fabric around the control horn. Trimmed the top edge of the fabric leaving about 3 inches to cover the end of the aileron. Moved back to the trailing edge and reattached the edge removing all of the wrinkles possible. Trimmed the top edge around the hinges and ironed the fabric down on the top edge. Trimmed the trailing edge of the fabric next to the frame and ironed it close. Applied glue around the frame to well anchor the fabric. Ironed the bottom fabric at 250 degrees to smooth out all the slack. End of day.