Brief Description: Start of Covering on Lower Right Aileron
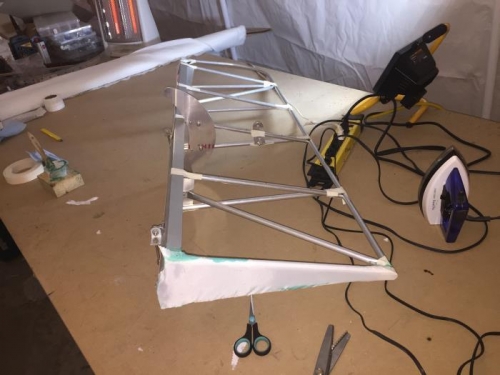
Applied tape to the aileron for all edges and transitions. Cut a piece of fabric to fit over the end of the aileron. Applied glue to the inside of the aileron end. Set aside to dry.
Mounted the horizontal stabilized in the sawhorse, front side down. Attached the tape to the end of the stabilizer and measured off a length to cover the back end of the stabilizer. Folded the tape in half and creased in so the center is marked with a line. Pulled the tape tight and marked each hinge location for a cutout. Made the cutouts for the hinges and applied glue to the first 8 inches of the tape. Wiped the excess glue from the tape taking care to keep the tape in place. Glued another section of the tape for about 10 inches and wiped with a paper towel. Continued for the remainder of the tape. Set aside to dry.
Applied the end piece of fabric to the aileron and set it in place using the small iron. Ironed the fabric around the end section. We set the fabric with the small iron. Trimmed the excess fabric with pinking shears and ironed it in place around the end frame. End of day.