Brief Description: Started Covering the Horizontal Stabilizer
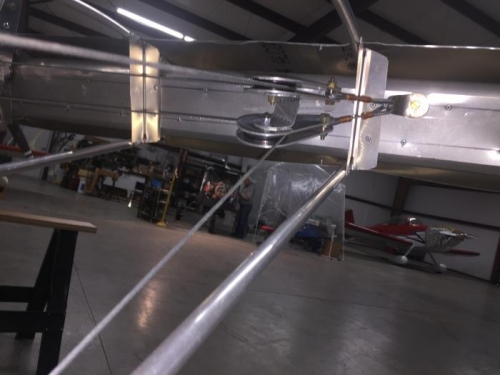
Cut a 3 1/2 by 1 1/2 inch piece of aluminum to form a bracket for bolting between the aileron pulleys on the right wing. Bent the aluminum in a C shape with one side 7/8 inch and the other side 1/2 inch across the center of the C. Drilled a 3/16 inch hole through both sides. Mounted the bracket between the pulleys to stabilize their movement during activation of the ailerons. Repeated the process for the left side pulleys.
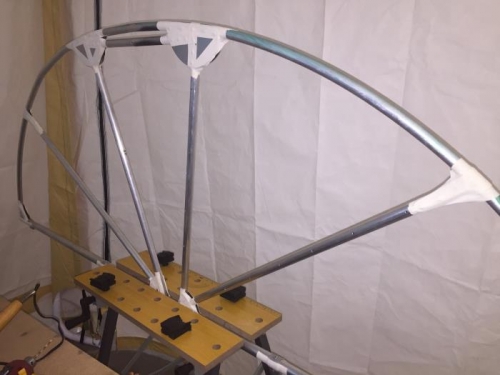
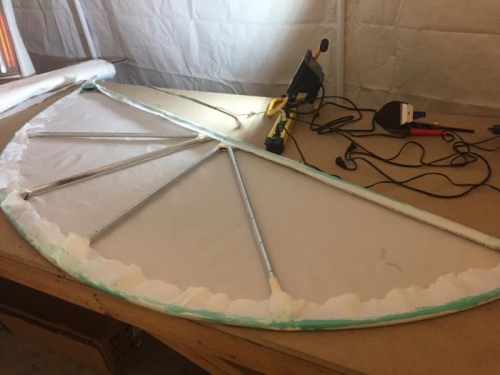
Cleaned the horizontal stabilizer with acetone to remove all marks. Taped all of the edges and gussets on both sides of the stabilizer. Marked all of the cross braces every 4 inches and drilled each mark with an 1/8 inch drill on both sides. Removed any remaining marking with acetone. Cut a length of fabric that fit over the stabilizer. Marked the curve 2 inches out from the frame and cut away the excess. Set aside the excess fabric. Laid the fabric over the stabilizer and align all edges. Iron the bottom edge in place and make cutouts around the hinges. Continue to iron the bottom edge around the frame. Pulled the fabric over the frame and tact ironed in place taking care to form a smooth edge. Double checked the fabric and tighten any areas that were loose. Applied a coating of glue on the inside of the frame. Allowed the glue to dry.
Ironed the edges to set the fabric around the frame. Using the pinking shears trimmed the excess fabric around the frame. Using the small iron rolled the edges around the frame for a secure contact. End of day.