Brief Description: Finished Vertical Stabilizer and Continued Elevato
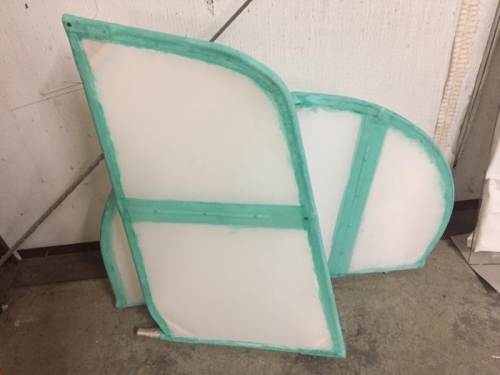
Installed the perimeter tape around the vertical stabilizer by applying glue under and over the tape and wiping with a paper towel. Set aside to dry.
Checked the fabric tension on the elevator and reset areas where slack was evident. Applied glue on the inside of the frame taking care not to get glue on the back side of the fabric. Set aside to dry.
Used the small iron on the vertical stabilizer tape edges to secure all areas of the tape to the fabric. Using the soldering iron melted the fabric away from each of the three bolt holes in the frame. Set aside to await painting.
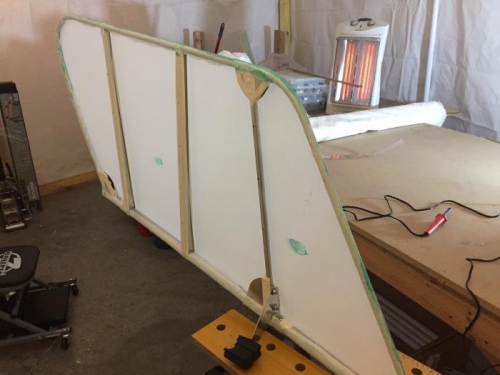
On the elevator frame used the small iron to smooth the fabric around the frame. Cut away the excess fabric. Completed the ironing of the fabric around the frame. Laid the elevator flat with the fabric up. Using the regular iron set at 250 degrees ironed the fabric alternating sides to provide even tension. Marked the fabric around the frame with a line about 3/4 inches from the edge. Mounted the elevator in the sawhorse and applied a line of glue around the frame from the center to the fabric side of the frame. End of day.