Brief Description: Covering of Right Side of the Rudder
Brought the iron up to about 250 degrees and tensioned the fabric on the left side of the rudder. Cut a 2 by 8 inch patch from scrap. Cut the patch in half to within 1 1/4 inches of one end. Fitted the patch around the rudder horn and marked it's boundary with the pencil. Removed the patch and filled in the marked area with glue. Placed a strip of glue around the frame and set aside to dry.
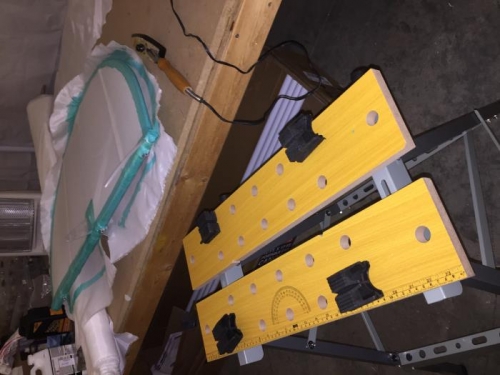
I had obtained a new clamping sawhorse and it had to be put together. About 40 minutes later the sawhorse was ready for use.
Laid the fabric section saved for the right side of the rudder and marked the shape with a pencil. Forgot to allow for the material to rap around the frame thus the cut out was too small to fit on the rudder. Used the mistake as a pattern for another cutout. This one allowing for the material necessary to rap around the frame. Put a pencil mark about 3/4 inch on the perimeter around the rudder frame. Laid the rudder on the table with the right side up and laid out the fabric over the rudder frame. Noted the position of the rudder horn and cut a slit in the bottom of the fabric to fit around the horn. Centered the fabric over the frame and secured in place against the glue at the top and bottom. Set the rudder in the sawhorse and worked the fabric around the rudder frame smoothly tacking it to the frame. Put a layer of glue in the left side of the rudder inside the pencil marks around the rudder frame. End of day.