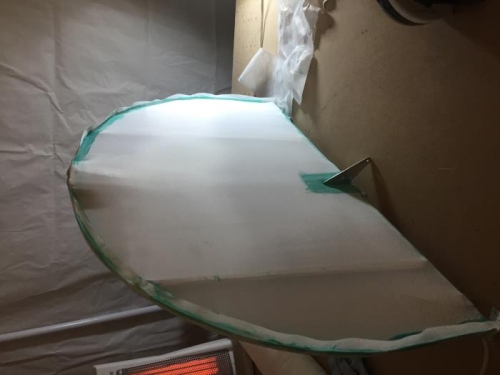
Brief Description: Continued Work on the Right Side of the Rudder
Ironed the edges of the right side covering taking care to remove any wrinkles. Added additional glue on the left edge under the right side cover. Iron the edge down on the left side to the glue line. Allowed to dry. Worked the rudder post fabric around the post to the left side and ironed to the glue line. Cut a 2 1/2 by 7 inch strip and then split it up the center to 1 1/2 inch from the top edge. Laid the patch around the right side rudder horn and marked the edge on the right side cover. Removed the patch and applied glue inside the marked area. Applied the patch around the rudder horn and smooth out the material. Left the patch to dry. Trimmed the excess fabric from the edge around the rudder. Ironed the edge down and smooth out any wrinkles.
Checked the large iron for a temperature of about 250 degree. Adjusted the iron and recheck the temperature. Ironed the right side starting on the right side of the rudder then moving to the left side. Continued across the rudder until full tension was reached. Applied a coating of glue around the perimeter of the rudder to hold the tape. Set aside to dry.
Measured a length of tape to reach around the curve of the rudder. Folded the tape in half and marked the center line of the tape. Lined up one end of the tape on the rudder and ironed it in place. Worked the tape up over the rudder maintaining the center line on the rudder edge. Applied another coat of glue over the rudder horn patch. Wiped the excess glue from the patch with a paper towel. End of day.