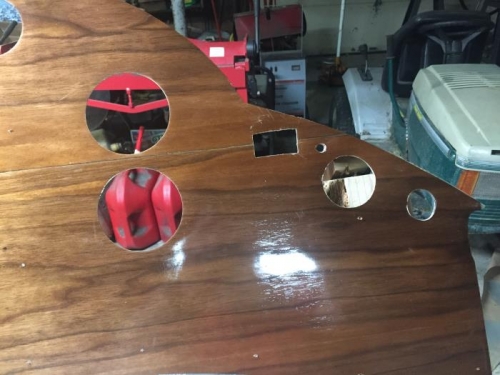
Brief Description: Add the Opening for the AMP Display
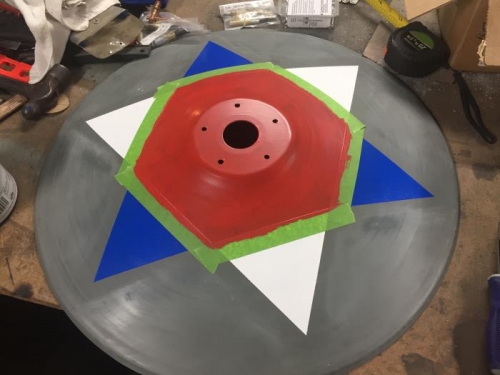
Carefully added the edging tape along the base of each of the points of the star on the outer wheel covers. Mixed the red paint until consistent and using a bush painted the center of each wheel cover. Set them aside to dry over night.
Using the calipers, measured the length and width of the AMP display. Transferred the measurements to the back side of the right end of the instrument panel. Drilled a 5/16 inch hole in the center of the rectangle marked out for the AMP display. Using the manual nibbler cut out the rectangle on the instrument panel. Check the display and found that the rectangle was not wide enough. Removed an additional 1/16 inch from the right side of the rectangle and smooth the edges with a small round file. Check the fit of the display and found it correct.
Marked the back right side of the instrument panel for a vertical line of circuit breakers. Check the position of the radio and found that it would not work on the instrument panel due to the attachment of the lower trim. Moved the position of the transponder to the center of the instrument panel and put the radio position on the left side on the same line. Moved the position of the Emergency Power switch to the center position on the instrument panel.