Brief Description: Installation of Step on Left Wing Stub
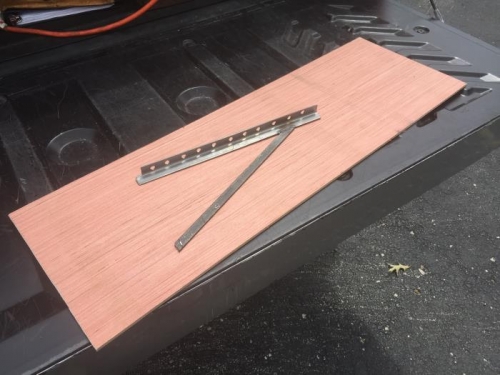
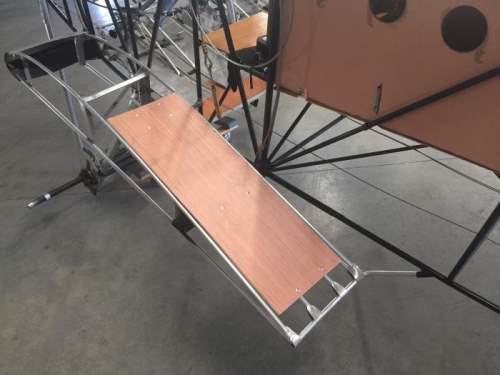
Cut the strap from the angle and laid out the measurements on the table. Laid the strap under the angle and marked the strap to fit at the correct joining. Cut the end of the strap at the mark and did a test fitting. Had to grind the end a bit for a close fit. Clamped the strap to the table and aligned the angle on the marking. Tig welded the strap to the angle then turned it over and welded the other side. Bushed the welds clean of flux. Cut a 30 by 9 3/4 inch segment from a plywood sheet for the floor of the step. Sanded the edges smooth and set aside for later installation.
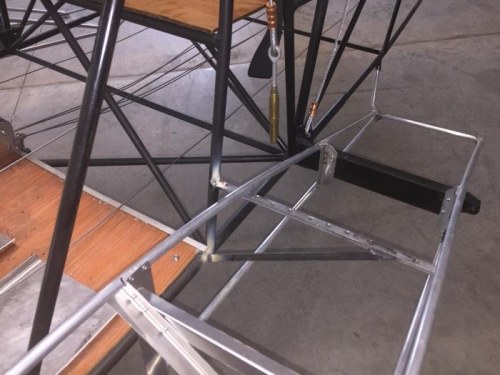
Aligned the angle on the frame about 1/4 inch below the ribs and clamped it in place. Had to remove the angle from the frame and grind the strap down about a 1/4 inch to complete the alignment. Clamped the angle in place and double checked the alignment. Again removed the angle to grind a curve in the top side of the angle so it fit closely against the frame tube. Had to grind another 1/8 inch off of the end of the strap to get the fit square across the wing stub. Clamped the angle in place and then using the small wire welder completed the top and bottom welds to the frame. Installed two 1/2 inch aluminum tubes 32 inches long from the trailing edge of the stub to the angle welded to the frame. Bent the tubing to conform to the curve of the wing ribs. Installed the plywood on the ribs putting four pop rivets in each rib.