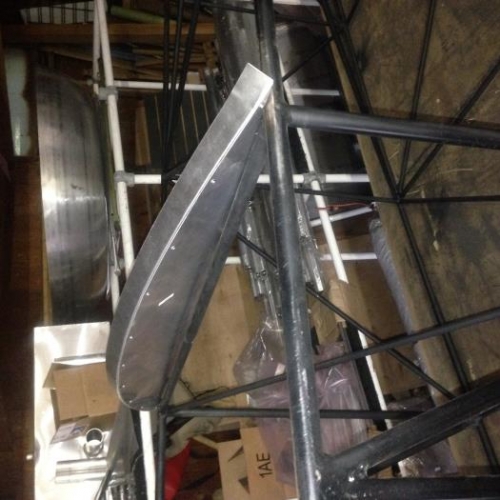
Measured the length of the curve of the tuttle-back and cut that length from a segment of 1 inch angle. Using the shrinking tool to compress one edge of the angle to conform to the curve of the tuttle-back. Did a test fit and made adjustments to complete the fit. Drilled a 1/8 inch hole in one end of the tuttle-back 1/4 inch from the edge and 1/2 inch from the end. Installed a cleo to hold the tuttle-back and the angle together. Marked off every 4 inches across the curve. Drilled each mark starting at the opposite end from the cleo with a 1/8 inch drill installing a cleo in every second hole. Remove the cleo from the right end of the tuttle-back and installed a 1/8 inch pop rivet between the tuttle-back and the angle. Continued installing pop rivets across the curve of the tuttle back.