Brief Description: Production of Control Cable Faring
Cut an 8 by 10 inch board from a sheet of wall board to serve as a base for the mold. Marked the center line on the board and mounted the mold on the center line with two number 8 by 1 inch wood screws. Wiped down the mold and base with wood polish to prevent the plastic from sticking to the mold.
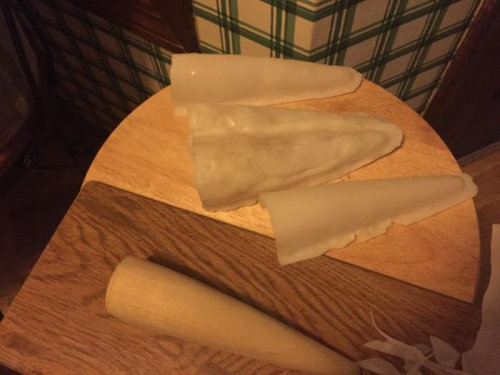
Used a sheet of 8 X 12 inch Polly Plastics cut into quarters to start. Put one of the quarter sheets into hot water until it turned clear and attempted to remove it onto the mold. Found that the material moved like thick glue and tended to stick to everything. Managed to get a lump of the soft plastic onto the mold and smoothed (sort of) over the mold. Continued to move the material around the mold and was able to get it formed with some irregularities. Once the plastic became cool and turn opaque it could be removed from the mold.
On the second attempt used my hands to handle the plastic by submerging 2/3 in hot water until clear and then reversing the plastic and submerging the last 1/3. Carefully move the soft plastic to the mold and formed the faring with my fingers. Allowed the plastic to cool to a white color and then removed the faring from the mold. Repeated the process two more times.