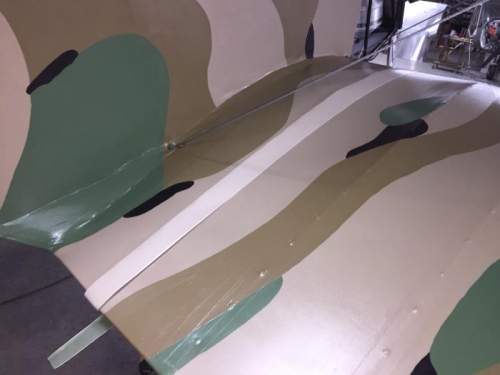
Rolled each edge of the strip putting a downward slop on the strip. Filed the cut edge to smooth it and remove any burrs. Laid the strip on the wing and bent about 4 inches around the trailing edge of the wing. Drilled two 1/8 inch holes in the bottom of the strip into the trailing edge of the wing. Installed a #10 by 1/2 inch screw in each hole. Removed the access covers on the end of the wing and the access plate on the wing stub. Laid the strip along the bottom of the wing and pulled it tight. Installed a #10 screw in the bottom front of the wing into the end rib. Added a second and third screws along the bottom of the strip equally spaced into the end rib of the wing. Installed two #10 screws in the end of the overlap from the top strip and into the wing ribs of the wing and wing stub. Removed the two screws in the trailing edge of the wing and reinstalled them through the bottom and wraparound strips and into the trailing edge of the wing. Cut away the excess bottom material at the wing trailing edge and sanded the edge smooth. The painting of the strip to match the aircraft will have to wait for warmer weather and another work day.